If you’re itching to get your hands dirty and start your gardening journey, starting seedlings indoors can be a fantastic way to kick things off! With the right approach, you can have a thriving little garden ready to go by the time warmer weather rolls in. Here are 12 simple steps to help you grow your seedlings successfully from the comfort of your own home!
Choosing the Right Seeds for Indoor Germination

Choosing the right seeds is key when you start seeds indoors. The image shows a variety of seed packets, each representing different plants. It’s like a colorful collection of possibilities for your vegetable garden or even flowers to brighten up your space.
When selecting seeds, think about what you enjoy eating or looking at. If you love fresh veggies, consider growing tomatoes or even Brussels sprouts. These can thrive in indoor conditions and give you a rewarding experience as they grow.
Check the seed packets for planting dates and care instructions. Some seeds need more light, while others can handle a bit of shade. If you’re new to greenhouse gardening, starting with easy-to-grow varieties can help build your confidence.
Don’t forget to look for garden hacks or tips that can make your experience smoother. Pairing seeds that grow well together can maximize your space and yield. So, grab those seed packets, and let’s get growing!
Understanding Optimal Temperature Conditions
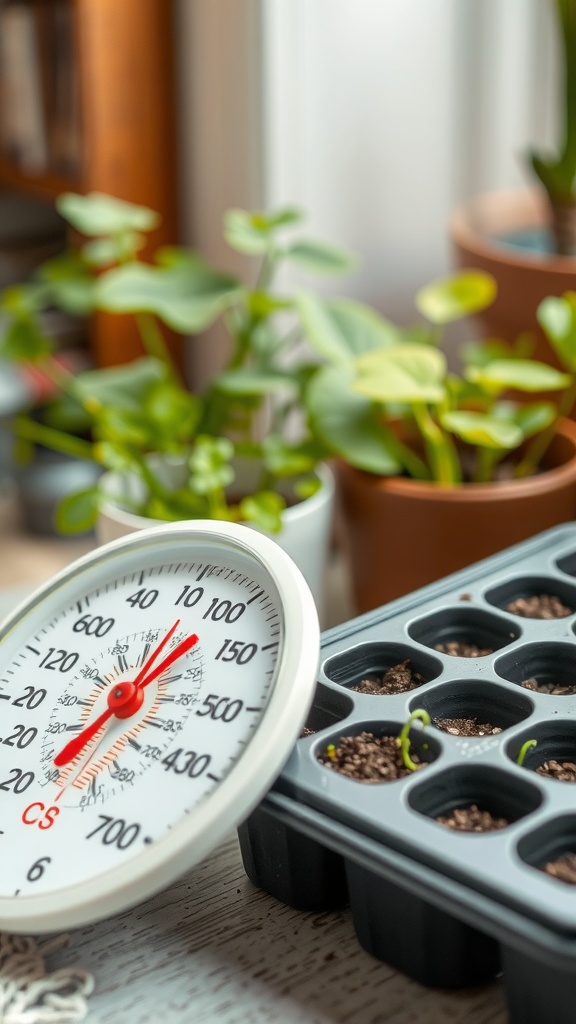
Temperature plays a big role when starting seedlings indoors. The right warmth can make a real difference in how well your plants grow. In the image, you can see a thermometer beside a seedling tray. This setup shows how monitoring temperature is key for success in starting a garden.
Most seeds, like those for tomatoes or Brussel sprouts, thrive in temperatures between 65°F and 75°F. When it gets too cold, growth slows down. On the flip side, if it gets too hot, seedlings can get stressed and die. Aim to keep an eye on that thermometer!
Using a seedling heat mat can help you maintain the ideal temperature, especially in cooler rooms. This simple garden hack ensures your seeds have the best start possible. With the right conditions, your seedlings will be strong and ready for transplanting in no time.
Timing: When to Start Your Seeds Indoors
Getting your seeds started indoors is a fun part of creating your vegetable garden. The image shows a calendar alongside small pots with young seedlings. This visual reminds us that timing is everything when it comes to starting seeds indoors.
Most gardeners find that planning is key. The calendar marked “Plan 2021” highlights the importance of tracking your planting dates. Each type of seed has its own ideal starting time, so it helps to refer to planting guides.
If you’re looking to grow tomatoes or Brussel sprouts, knowing when to plant is crucial. For instance, starting seedlings indoors about 6-8 weeks before the last frost date is a common guideline. This ensures your plants have a head start in the growing season.
Garden hacks can help you maximize your time and resources. Consider creating a planting schedule based on your local climate. A simple calendar, like the one in the image, can keep you organized and ready to start your seeds.
Whether you’re a newbie or a seasoned gardener, timing your seed starting can set you up for a successful planting season. So, grab your calendar, plan ahead, and get ready to start seeds indoors!
Providing Sufficient Light for Seedlings
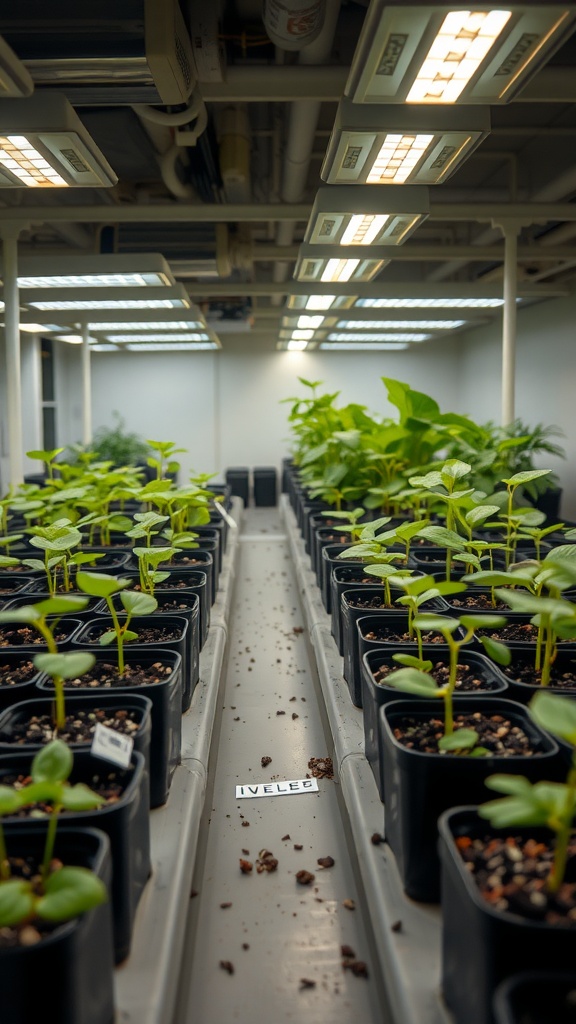
When starting seedlings indoors, light is super important. The image shows a well-organized setup with rows of young plants under bright grow lights. This kind of lighting mimics natural sunlight, helping seedlings grow strong and healthy.
Most seedlings need about 12 to 16 hours of light each day. If your windows are too shady, consider using fluorescent or LED grow lights. These lights can make a big difference in how well your plants grow, especially if you want to grow tomatoes or even start seedlings for a vegetable garden.
In this setup, the lights are arranged to cover all the plants evenly, ensuring each seedling gets its share of sunlight. This is a great example of greenhouse gardening. Remember to adjust the height of the lights as your plants grow so they always get enough light without burning.
Good lighting is one of the best garden hacks for starting a garden. With proper light, you can easily grow a variety of plants, including those tricky Brussel sprouts. Just remember, when you provide the right environment, your seedlings will flourish.
Creating Humidity for Optimal Growth
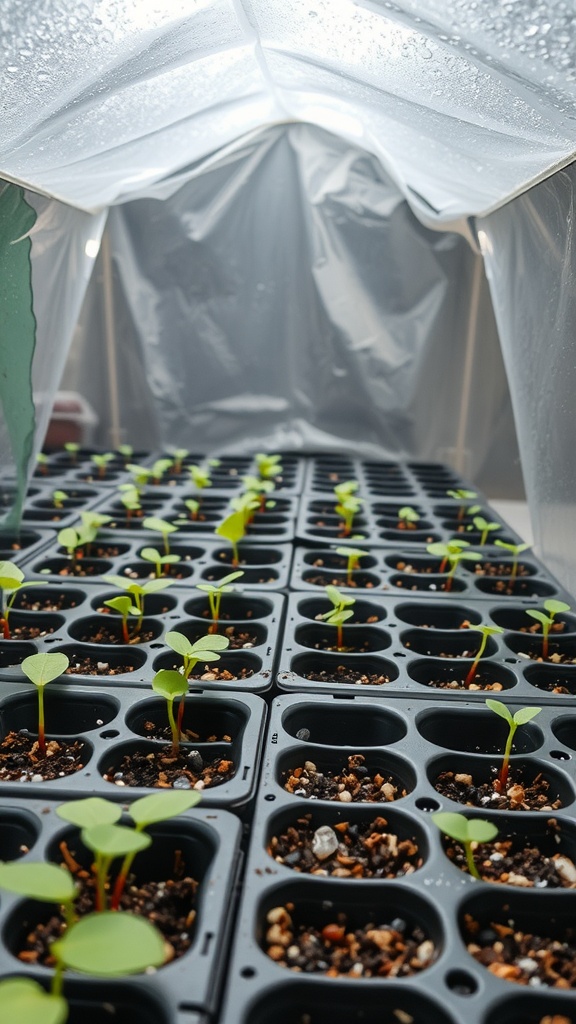
When starting seedlings indoors, creating the right humidity is key to their success. The image shows a well-organized setup with young seedlings thriving under a plastic cover. This setup helps maintain warmth and moisture, which is essential for seed germination and growth.
Using a humidity dome, as seen in the image, keeps the environment humid, mimicking the conditions found in a greenhouse. This is especially beneficial for seeds like Brussel sprouts or tomatoes, which love moist air. If you’re planting dates for starting a garden, don’t skip this step!
Another handy tip is to periodically mist your seedlings. This adds extra moisture without overwatering. Keep an eye on the surface of the soil; if it starts to dry out, it’s time for a splash of water or a gentle mist.
To make the most of your greenhouse gardening, consider using a thermometer and hygrometer. These tools help monitor temperature and humidity levels, ensuring your plants stay happy and healthy. With these garden hacks, you’ll be well on your way to a thriving vegetable garden.
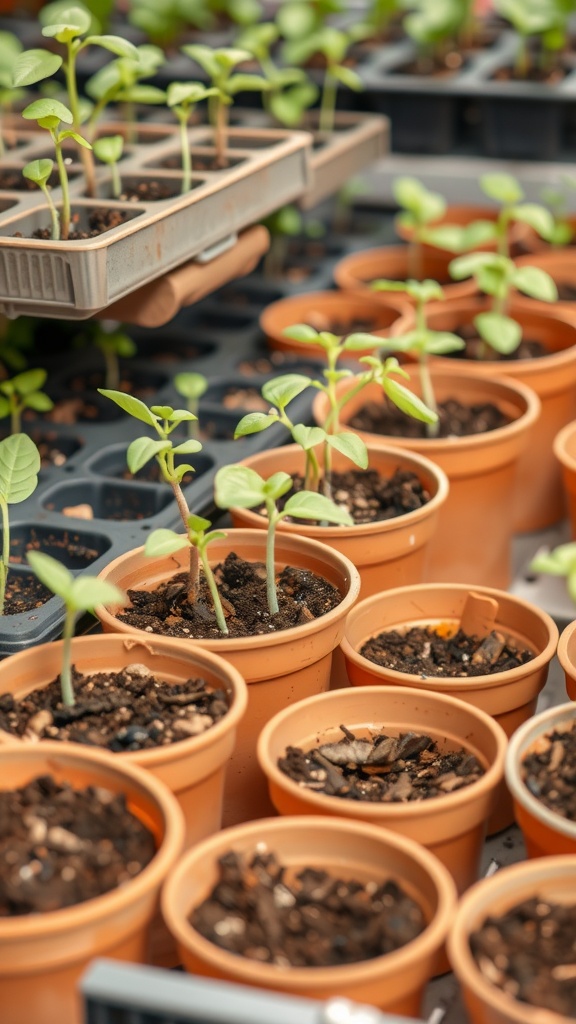
Selecting Appropriate Containers for Seedlings
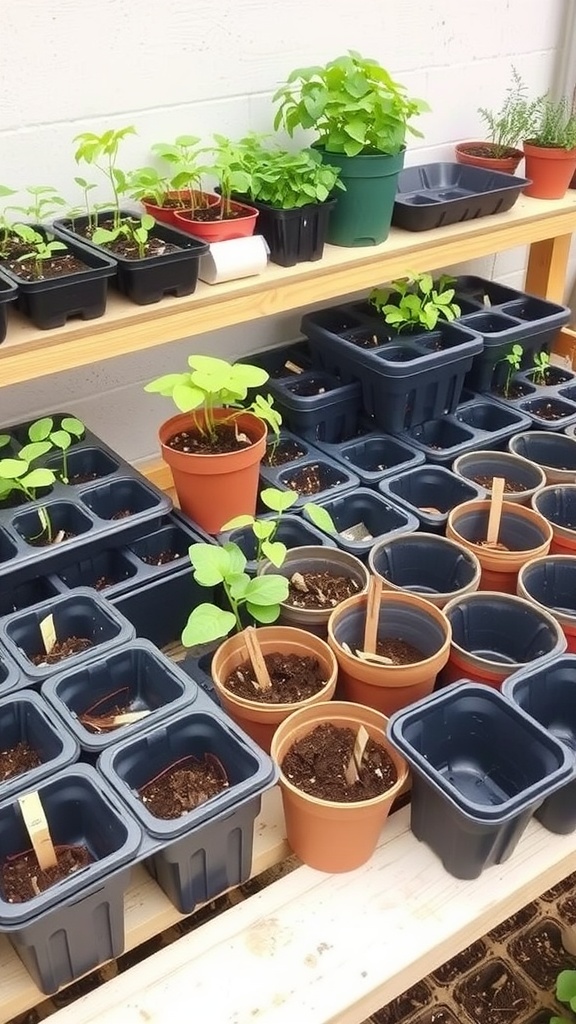
Choosing the right containers for your seedlings is crucial for their growth. The image shows a variety of containers filled with young plants, some in standard pots, while others are in small black trays. This setup is perfect for starting seeds indoors and maximizing space.
When selecting containers, consider drainage. Seedlings need adequate water flow to avoid root rot. Look for pots with drainage holes or use trays that can hold smaller pots with holes. This allows excess water to escape, keeping your seedlings healthy.
Size matters too. Using smaller containers can help manage moisture and nutrients effectively. As your seedlings grow, you can transfer them to larger pots later. This technique works well for growing tomatoes or starting a vegetable garden.
Don’t forget about materials. Plastic, clay, and biodegradable options each have their pros and cons. Plastic pots are lightweight and reusable, while biodegradable pots are great for eco-friendly gardeners. Experiment with different types to find what works best for you.
Lastly, label your containers. It’s easy to mix up different seeds, especially when starting a garden with various vegetables. Labels help you keep track of what’s growing where.
Preparing the Ideal Seed-Starting Mix
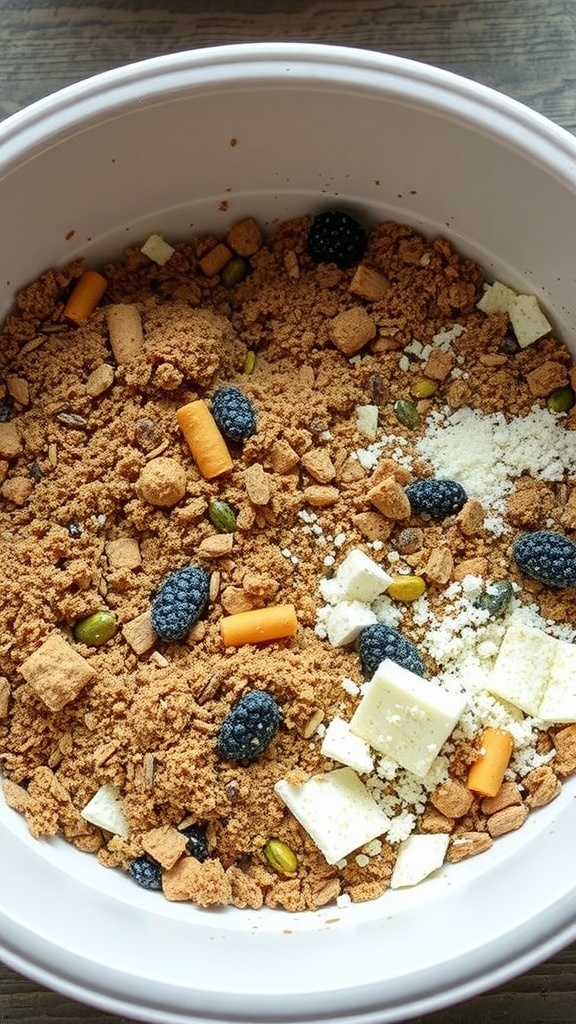
Starting seedlings indoors is a smart way to get a head start on your garden. One of the key steps in this process is preparing the right seed-starting mix. The image shows a mix that looks rich in texture and color, giving you a glimpse of what’s needed for healthy seedlings.
The ideal seed-starting mix should be light and fluffy. You want a blend that retains moisture but allows for good drainage. This helps prevent root rot, which can be a common issue when starting seeds indoors. In the image, you can see various components that contribute to a balanced mix.
Components like peat moss, vermiculite, or coconut coir are often included. These materials create a breathable environment for the seeds. You can also add nutrients, like compost or worm castings, to give your seedlings a boost.
Don’t forget to consider the pH level of your mix. A neutral pH is generally best for most seeds. For those growing vegetables like tomatoes or Brussel sprouts, starting with the right mix sets the stage for success in your vegetable garden.
As you prepare your seed-starting mix, keep in mind the planting dates for your seeds. Timing is important, especially if you are growing specific crops. Having a good mix will give you a solid foundation to start seeds indoors and watch them thrive!
Watering Techniques for Healthy Seedlings
Proper watering is key to growing strong and healthy seedlings. In the image, you can see someone using a spray bottle to mist young plants in a tray. This gentle method helps provide moisture without overwhelming the delicate roots.
Misting is a great way to start, especially for small seeds like basil or tomatoes. The fine droplets keep the soil surface moist while allowing air circulation. It’s a perfect technique for starting a garden, especially if you want to grow tomatoes or other vegetables indoors.
When you’re using a spray bottle, aim for the soil rather than the leaves. Too much water on the leaves can lead to mold or disease. Check the soil regularly; it should feel damp but not soggy. For plants like Brussel sprouts, consistent moisture is essential for sprouting and growth.
Another helpful tip is to water in the morning. This gives your seedlings a chance to soak up moisture during the day. If you’re keen on greenhouse gardening, remember that humidity levels can change, so keep an eye on your plants.
In conclusion, mastering the right watering techniques will help your seedlings thrive. A well-watered seedling is one step closer to a flourishing vegetable garden!
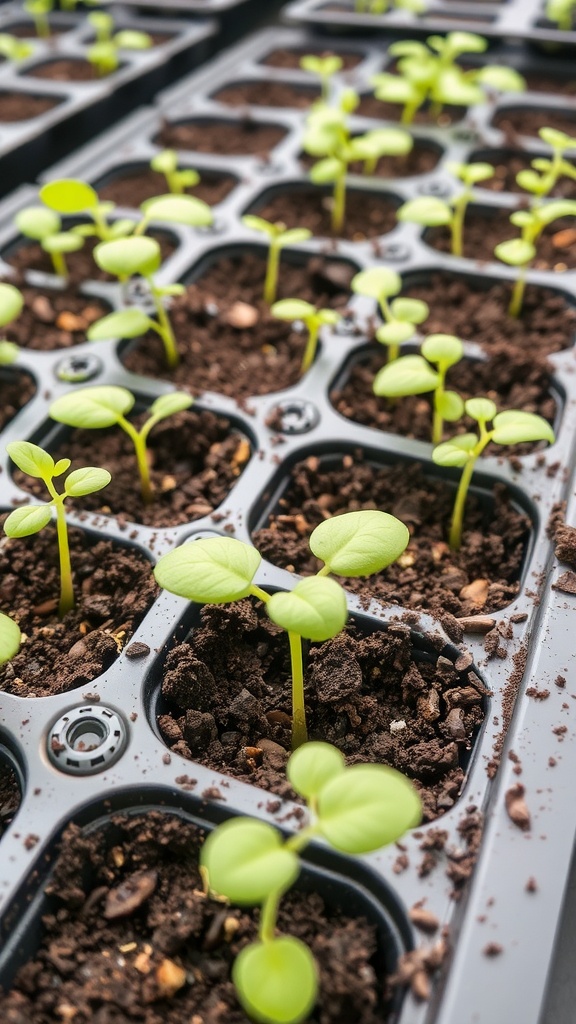
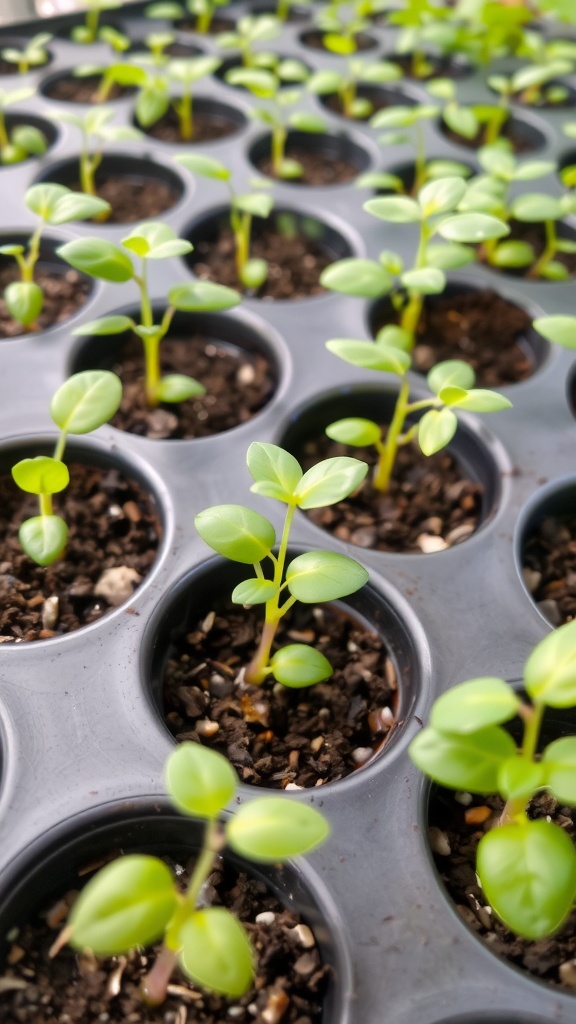
Thinning Seedlings for Better Growth
Thinning seedlings is a key step in starting a garden indoors. When you see a tray full of little green plants, it can be tempting to leave them all. However, thinning helps each seedling get the space and nutrients it needs to thrive.
The image shows a hand gently thinning out seedlings in a tray. This is an important process. Removing some seedlings allows the remaining ones to grow stronger roots and larger leaves. It’s like giving them room to breathe and grow.
Start by looking for seedlings that are too close together. If any look weak or spindly, those are good candidates for removal. You want the healthiest plants to flourish, whether you’re growing tomatoes, Brussel sprouts, or any other vegetable from seed.
Thinning can feel a bit sad at first, especially if you’ve put time and care into starting seeds indoors. But remember, this is part of the garden hacks that help ensure your plants will succeed. When you thin, you’re setting yourself up for a more fruitful harvest!
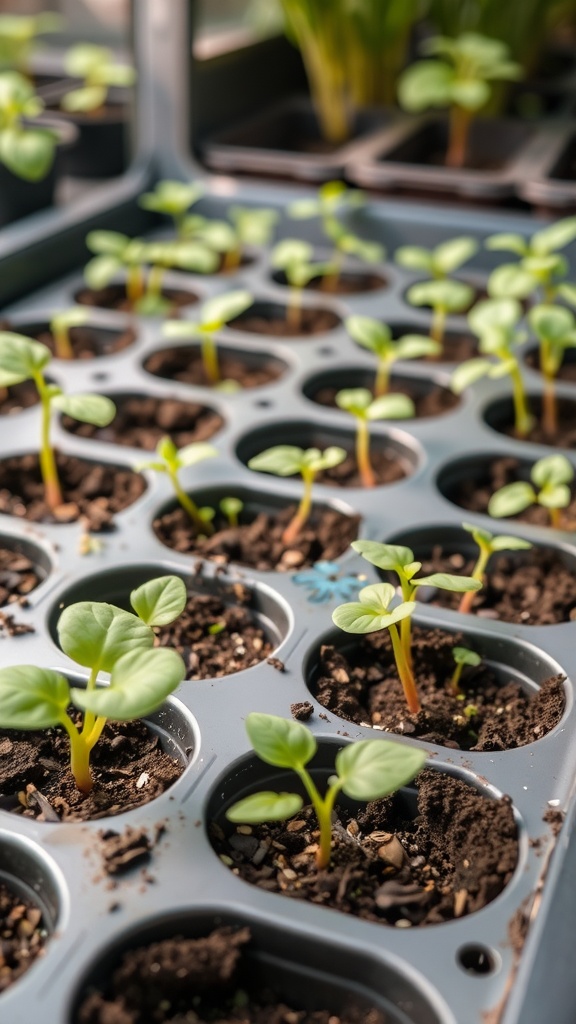
Transplanting Seedlings into Larger Pots
When your seedlings start to grow, it’s time for the next step: transplanting them into larger pots. This process gives roots more room to spread and helps your baby plants thrive.
The image shows young seedlings in small pots, ready to be moved to bigger homes. Notice how some are still in seed trays. Keeping them there for a bit longer can help when transplanting, as they’ll be easier to handle.
To begin, gently remove the seedling from its pot, being careful not to damage the roots. A small spoon can help loosen the soil. Make a hole in the new pot filled with fresh potting mix, and place the seedling inside. Cover the roots with soil, patting it down lightly.
After transplanting, water the seedlings well. This helps settle the soil and reduces transplant shock. Keep them in a warm spot with good light, and soon they’ll be growing strong. Remember, if you want to grow tomatoes or any other veggies, this step is key for a successful vegetable garden.
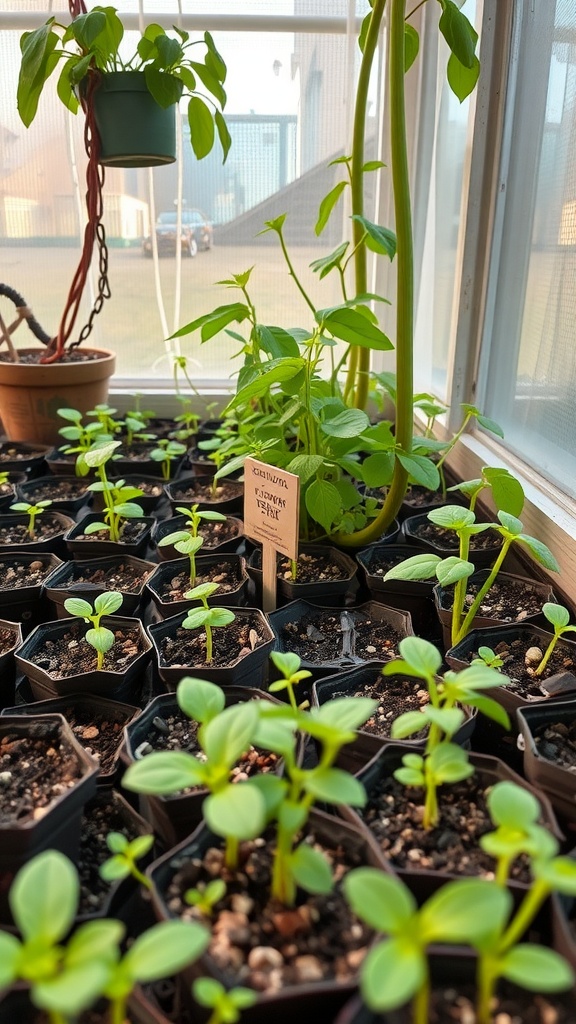
Hardening Off Seedlings Before Outdoor Planting
As you prepare to move your seedlings outdoors, hardening them off is an important step. This process helps them adjust to the outdoor environment, making the transition smoother. You can see in the image a vibrant array of young seedlings, thriving under the gentle sunlight. These plants are in small pots, ready for their next stage of growth.
Start by placing your seedlings outside for a few hours each day. Choose a sheltered spot to protect them from harsh winds and direct sunlight. Increase their outdoor time gradually over a week or two. This helps them adapt without getting stressed.
When hardening off seedlings, pay attention to the weather. It’s best to avoid extreme temperatures or sudden changes. If you’re growing tomatoes or other tender plants, be cautious during chilly nights. This step is vital for anyone starting a garden, ensuring that your plants thrive once planted in the vegetable garden.
Keep an eye on your seedlings as they adjust. If you notice any wilting or yellowing leaves, they might need more time indoors. The goal is to make them robust and ready for greenhouse gardening or outdoor planting.
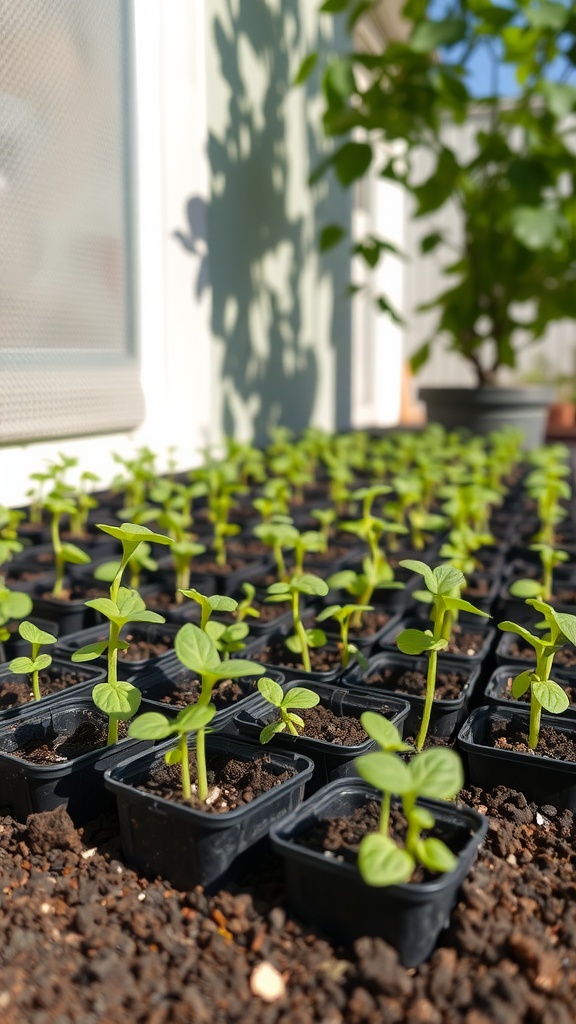
Monitoring and Managing Pests Indoors
Growing seedlings indoors is a delightful way to get started on your garden. In the photo, we see a vibrant collection of young plants, each in their own little pot, stretching up towards the light. This setup is perfect for starting a vegetable garden. However, with these lovely seedlings come the responsibility of keeping pests at bay. To ensure strong growth, it’s essential to keep a watchful eye on potential intruders. Regularly check your plants for signs of pests like aphids or spider mites. If you spot any, act quickly to remove them. Natural remedies like neem oil can help keep those pesky bugs in check without harming your plants. Make sure your seedlings have good airflow and avoid over-watering, as standing water can attract pests. Keeping your growing area clean is key. With these garden hacks, your seedlings can thrive, leading to a bountiful harvest of tomatoes or even Brussel sprouts!
Leave a Reply