Ready to fill your garden with the delightful aroma of sage? Propagating sage cuttings is a simple and rewarding process that anyone can tackle at home. Follow these 18 easy steps to grow your own fresh plants and enjoy the benefits of having sage just a snip away!
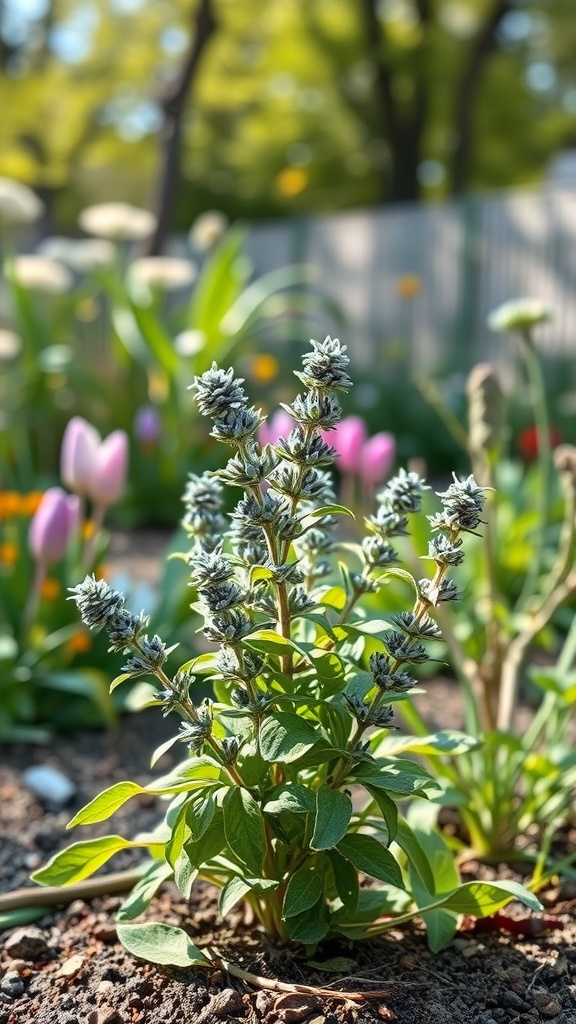
Select A Healthy, Non-Flowering Sage Stem
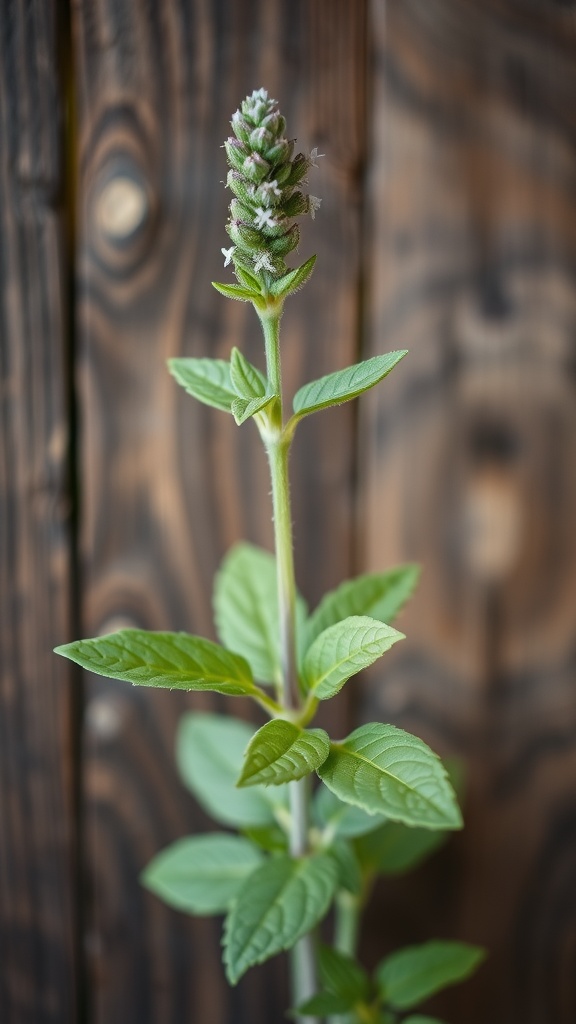
When it comes to propagating sage, selecting the right stem is key. Look for a healthy, non-flowering sage stem, as this indicates that the plant is still in its growth phase. A stem that is flowering can divert energy from root development, which is essential for successful propagation.
In the image, you can see a vibrant sage stem showcasing lush green leaves. These leaves are not just visually appealing but are also a good sign that the plant is healthy. The absence of flowers means that the plant is focused on growing strong, making it perfect for growing sage propagate.
While selecting your sage stem, ensure it’s about 4 to 6 inches long. This length will give your cutting enough space to root properly. Be sure to check for any signs of disease or pests. A healthy stem will make your journey of propagating plants from cuttings much easier and more rewarding.
Once you have your cutting, you can start thinking about how you want to use it. Sage is fantastic in a variety of sage recipes. From savory dishes to flavorful teas, you’ll love having fresh sage at your fingertips.
Use Clean, Sharp Scissors Or Pruners To Cut The Stem
When propagating sage cuttings, the first step is to use clean, sharp scissors or pruners. This ensures you make a clean cut, which is important for the health of the plant. You want those cuttings to thrive and grow into healthy sage herb plants.
In the image, you can see sharp scissors next to fresh sage leaves on a rustic wooden surface. This setup reflects the simplicity of propagating plants from cuttings. The scissors appear ready to trim the sage with precision, and that’s exactly what you want for this process.
Using dull tools can crush the stems, leading to poor growth or even disease. So, keep your scissors or pruners in top shape! This small step makes a big difference in your all-important allotment planning.
A clean cut allows the plant to heal faster and encourages new root growth. If you’re planning to grow sage or use it in sage recipes, this is your starting point. You’ll be well on your way to propagating plants successfully!
Make A Clean Cut Just Below A Leaf Node (Where Leaves Attach To The Stem)
In the image, you see a pair of scissors poised to make a cut on a healthy sage stem. The focus is on a leaf node, which is key for propagation. Cutting just below this point encourages new growth. This is an essential step when propagating plants from cuttings, especially with sage.
When you’re growing sage, it’s important to ensure that your cut is clean and precise. A clean cut helps the plant heal quickly and reduces the risk of disease. This image illustrates the right technique beautifully, showing you exactly where to make that cut for the best results.
Proper allotment planning can really pay off when you start propagating sage. Use sharp, clean scissors or shears, and aim for a cut that is about 4-6 inches long. This length is generally ideal for rooting. By making the cut below the leaf node, you give your new cutting a stronger chance of producing roots, which is vital for growing sage successfully.
Remove The Bottom Leaves, Leaving A Few At The Top For Photosynthesis
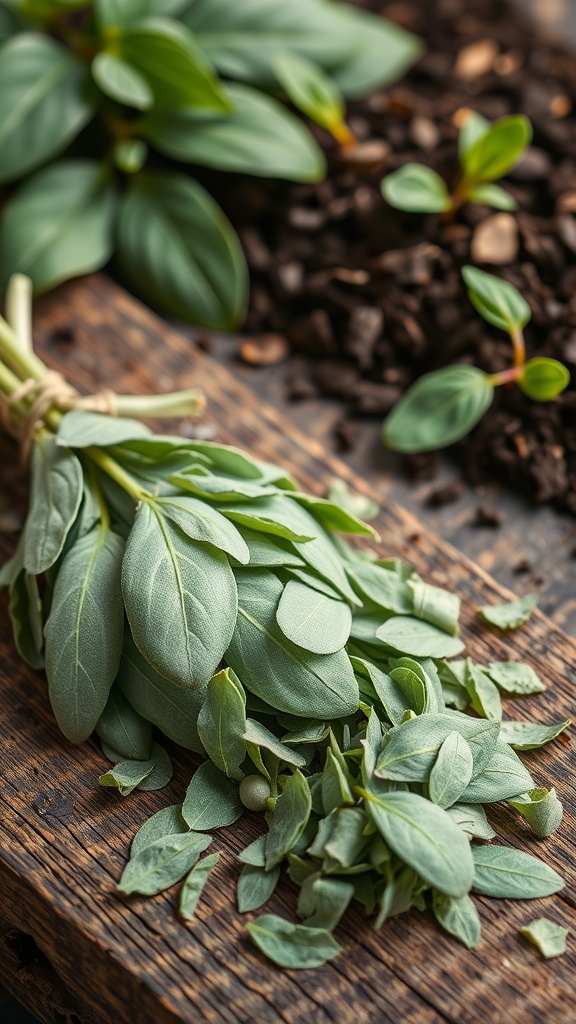
When propagating sage cuttings, one of the key steps is to remove the bottom leaves. This helps the cutting focus its energy on developing roots instead of trying to sustain those leaves. In the image, you can see a pair of hands gently holding sage cuttings, preparing to trim them. The scissors and gardening tools nearby suggest that this is a careful process.
After cutting the leaves, it’s important to leave a few at the top. These leaves will perform photosynthesis, which is essential for the growth of the cutting. By keeping the top leaves intact, you give your sage cuttings the best chance to thrive. This step is crucial when you’re growing sage or propagating plants from cuttings.
Proper allotment planning can make your gardening experience more rewarding. Imagine using fresh sage in your favorite sage recipes! This simple yet effective step in propagating sage cuttings lays the groundwork for a successful herb garden.
Let The Cutting Dry For 1-2 Hours To Prevent Rot
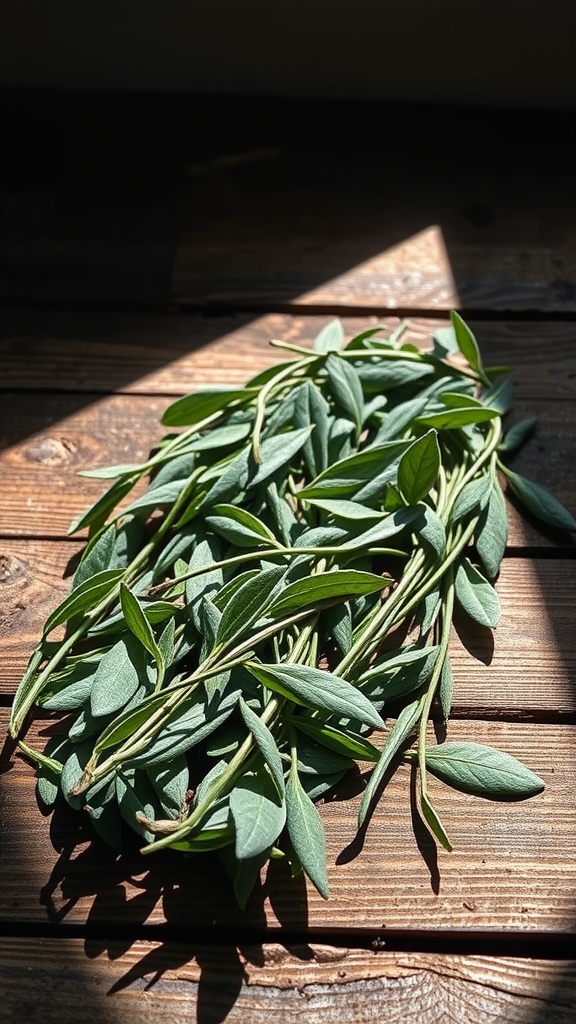
Once you’ve taken your sage cuttings, the next step is to lay them out for about 1-2 hours. This drying process helps to prevent rot, which can be a common issue when propagating plants from cuttings.
The image captures fresh sage leaves, vibrant and full of life, spread out on a wooden surface. This drying method is essential, as it allows the cut ends to callus over, reducing the chance of moisture-related diseases.
After letting them dry, you can proceed with the propagation process. Whether you’re growing sage for your kitchen or planning for your allotment, taking this simple step is key to success.
Dip The Cut End In Rooting Hormone (Optional But Can Speed Up Rooting)
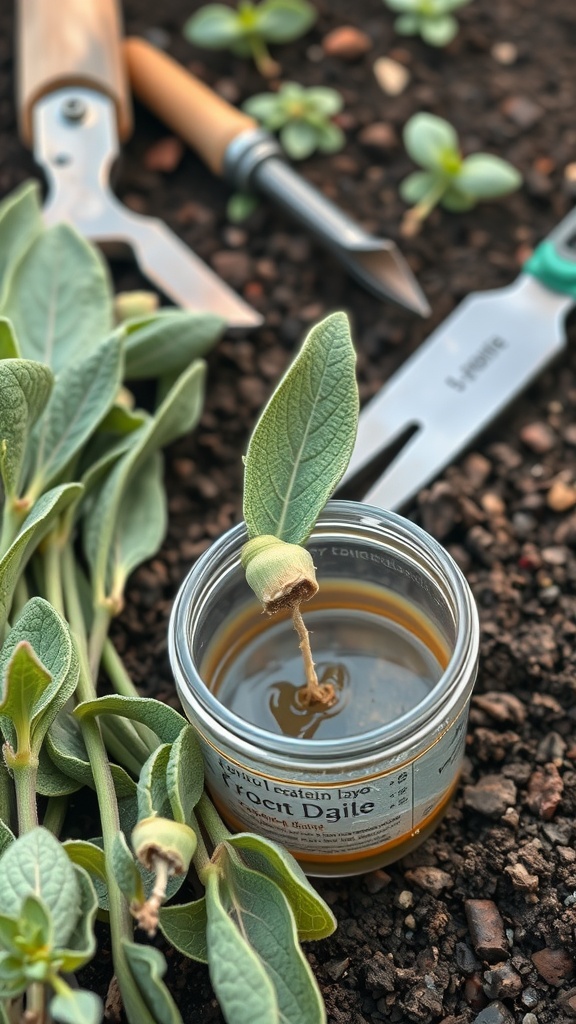
In the image, we see some fresh sage cuttings ready for propagation. The cut end of one cutting is dipped in rooting hormone, sitting in a jar. This step can really help your sage cuttings take root faster.
When propagating plants from cuttings, using rooting hormone is a handy trick. This hormone encourages new root growth, making it easier for your cuttings to thrive. It’s especially useful when growing sage, as this herb can be a bit picky when it comes to rooting.
After preparing your cuttings, simply dip the cut end into the rooting hormone before placing it in water or soil. If you’re wondering how to grow sage propagate effectively, this step can make all the difference.
Don’t worry if you don’t have rooting hormone; your sage cuttings can still root without it. But if you want to speed up the process, it’s worth a shot. With healthy cuttings and the right care, you can enjoy fresh sage for your favorite sage recipes in no time!
Prepare A Well-Draining Potting Mix (Cactus Or Perlite Blend Works Best)
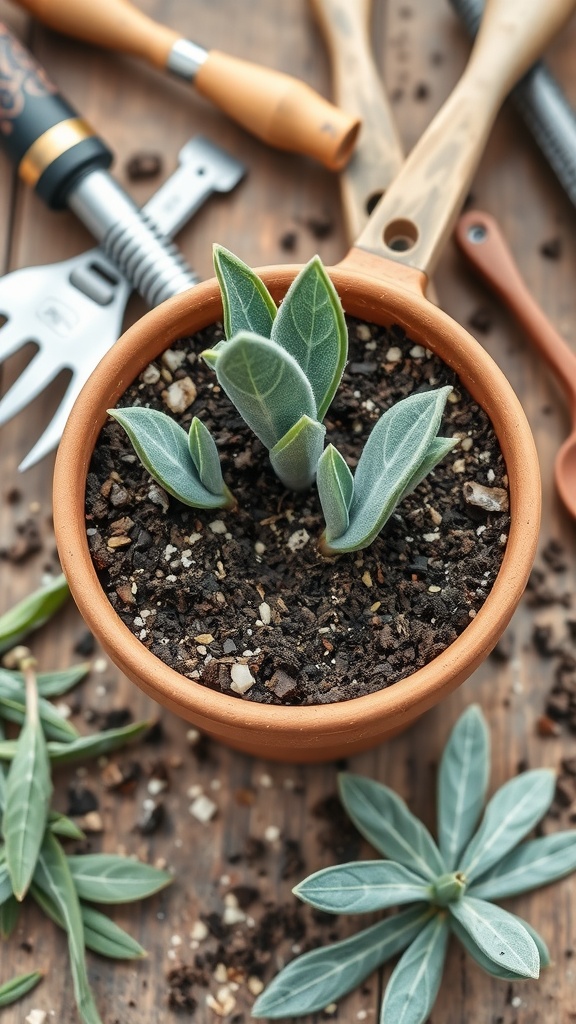
Setting up a good potting mix is key for propagating sage cuttings. The image shows a clay pot filled with a dark, well-draining mix, perfect for growing sage. A blend of cactus mix or perlite is ideal as it keeps the soil loose and helps prevent excess moisture, which can lead to root rot. You can see that the pot has a few small sage cuttings peeking out, ready to take root.
When propagating plants from cuttings, using the right mix is crucial. It encourages healthy growth and keeps the environment just right for your sage herb. Remember to use a pot that has drainage holes to enhance airflow and prevent water from sitting at the bottom.
To create your own well-draining potting mix, combine one part cactus mix with one part perlite. This mixture provides the right balance of nutrients and drainage. As you start growing sage, this simple blend will support your efforts in allotment planning and help your sage thrive.
Plant The Cutting In The Soil, Making Sure The Node Is Below The Surface
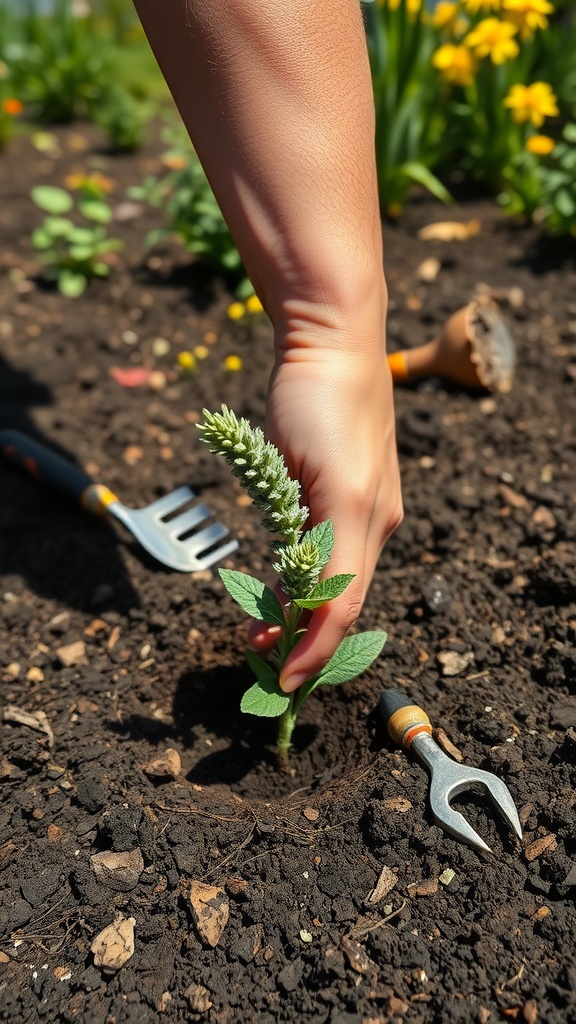
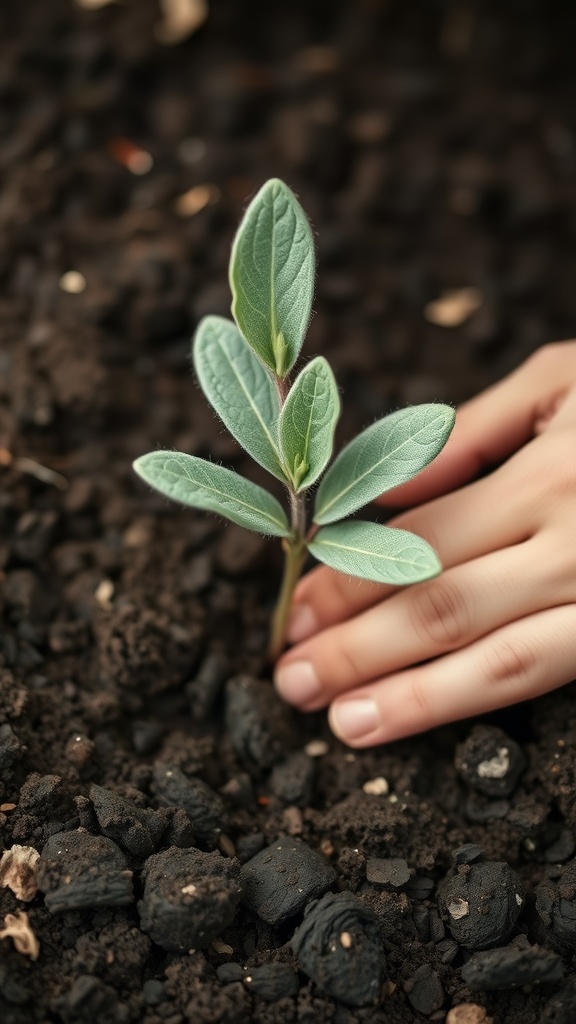
When you plant a sage cutting, the key is to bury the node under the soil. This node is where roots will grow. In the image, you can see a hand carefully placing a sage cutting into the ground. The soil is rich and dark, providing a perfect base for the plant to thrive.
It’s important to dig a small hole deep enough to cover the node completely. If you don’t bury it, the cutting won’t be able to establish roots, and that’s crucial for growing sage successfully. Sage herb thrives in well-drained soil, so make sure to choose a good spot in your garden or allotment planning.
Once your cutting is in place, gently pat the soil around it to secure it without compacting too much. This helps air circulate around the roots. Keeping the cutting well-watered during the initial days will aid in the propagation process. With the right care, you’ll soon be on your way to enjoying fresh sage recipes straight from your garden!
Water Lightly, Ensuring The Soil Is Moist But Not Waterlogged
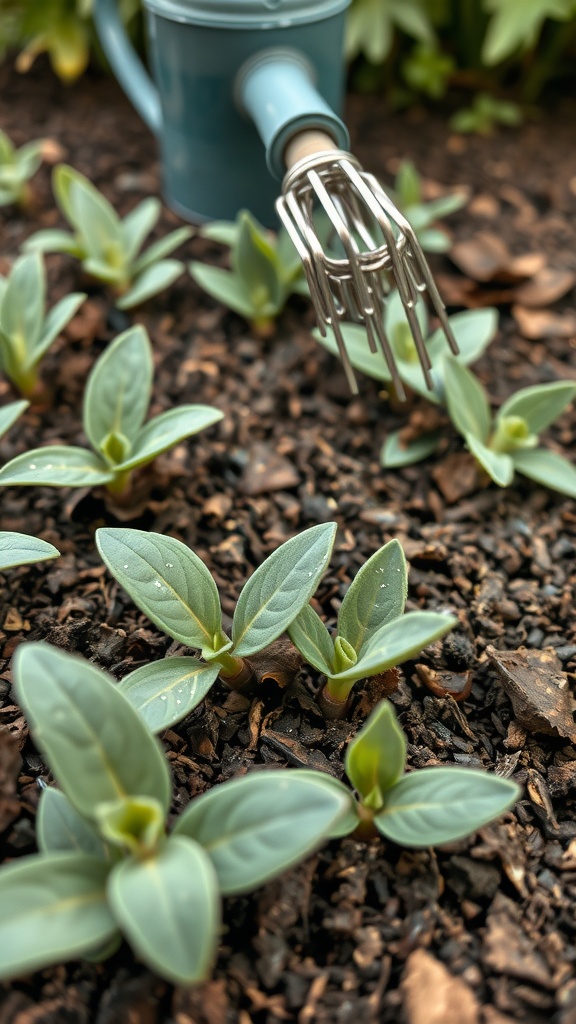
In your quest to propagate sage cuttings, watering is key. The image shows a gentle stream of water being poured onto the soil surrounding young sage plants. This is a perfect example of how to keep the soil moist without creating a soggy mess.
When you water, aim for moisture that seeps into the soil without pooling on the surface. Wet soil should feel damp, not drenched. Overwatering can lead to root rot, which is a sure way to lose those precious sage cuttings.
As you care for your sage herb, remember that the goal is to encourage healthy growth. A well-hydrated plant can thrive, making it ready for all those tasty sage recipes you’ll want to try. If you notice water sitting on top, it’s a sign to ease off on the watering.
During the propagation phase, check the soil frequently. You’ll want to feel the moisture level with your fingers. If it feels dry, give it a light drink. This method supports your efforts in growing sage and ensures you can continue propagating plants from cuttings successfully.
Place The Cutting In A Warm, Bright Location With Indirect Sunlight

When you’re propagating sage cuttings, finding the right spot is crucial. The image shows healthy sage plants happily soaking up some gentle light by the window. This warm, bright location is perfect for your cuttings.
Sage needs bright, indirect sunlight to thrive. If you place your sage cuttings in full sunlight, they might get scorched. Instead, aim for a spot where they can enjoy the light without it being too harsh. This balance helps the plant grow strong and healthy.
In addition to light, warmth plays a big role in growing sage. The ideal temperature for your sage cuttings is around 70°F (21°C). Keeping your cuttings cozy encourages root development. If it’s too cold, growth may slow down.
While propagating plants from cuttings, remember to check the soil moisture. Sage likes well-draining soil, so make sure not to overwater. A little care in the right environment can lead to robust plants. Once your cuttings take root, you’ll have plenty to use in your favorite sage recipes!
As you perfect your allotment planning, keep this step in mind. A little patience goes a long way in growing sage. Soon, you’ll be on your way to a thriving sage herb garden.
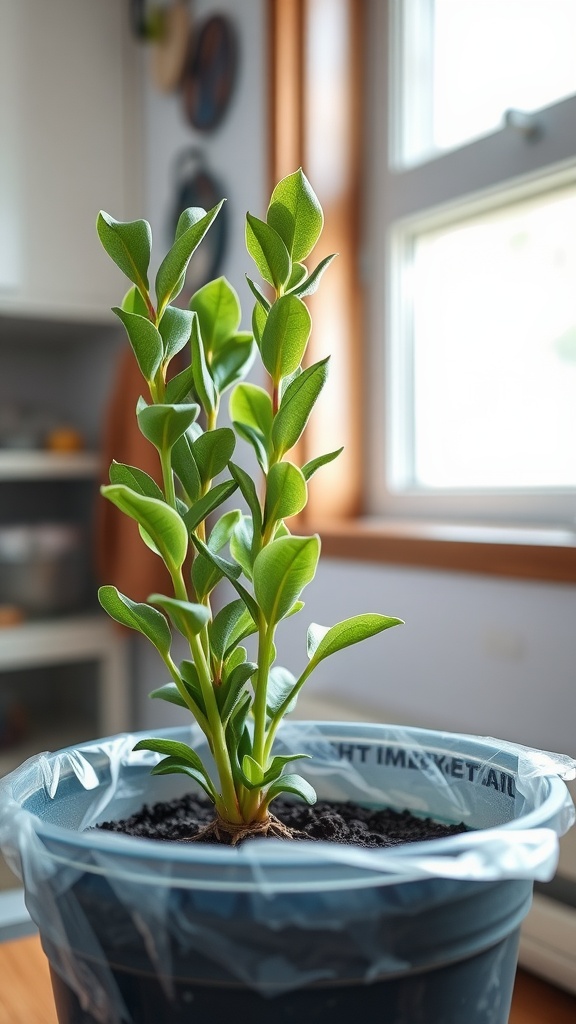
Cover The Cutting With A Clear Plastic Bag Or Dome To Create A Humid Environment
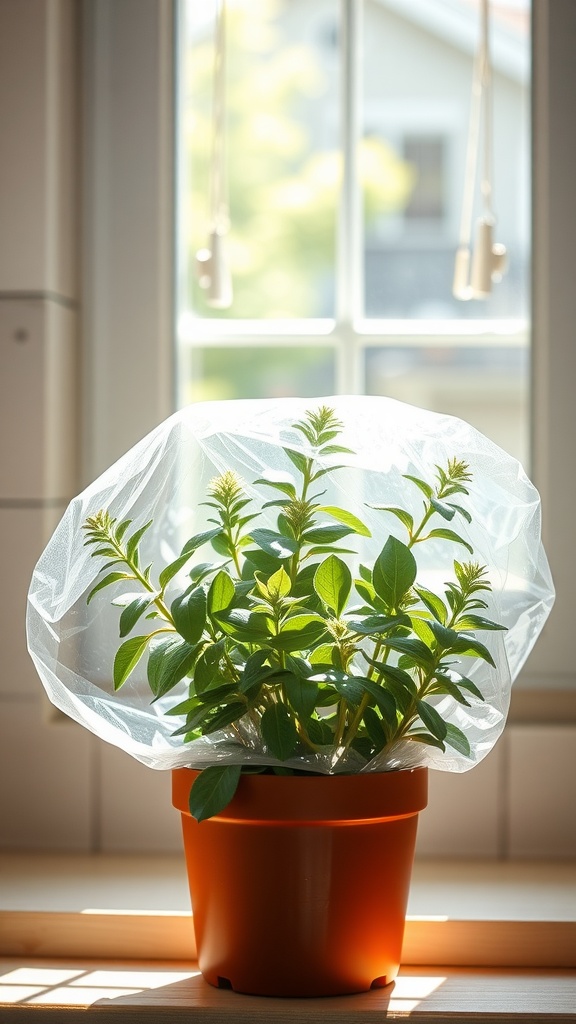
Creating a humid environment is key when propagating your sage cuttings. The image shows a healthy sage plant covered with a clear plastic bag. This simple step helps trap moisture, making it perfect for your new cuttings to thrive.
The plastic bag acts like a mini greenhouse, keeping the humidity levels high. This is especially important for sage, as it enjoys a moist atmosphere while it establishes roots. When you cover the cutting, ensure there’s enough space for airflow to prevent mold.
Using a clear plastic dome can also work wonders. It allows you to keep an eye on the growth without disturbing the plant. This step is a part of any successful propagating plants from cuttings method and can lead to strong, healthy plants ready for your herb garden.
As you nurture your cuttings, think about how you’ll use the sage herb in your cooking. Having fresh sage on hand opens up a world of sage recipes, adding flavor to your dishes. So, while you’re growing sage, you’re setting yourself up for delicious meals ahead!
Mist The Cutting Regularly To Keep The Humidity Up (Avoid Overwatering)
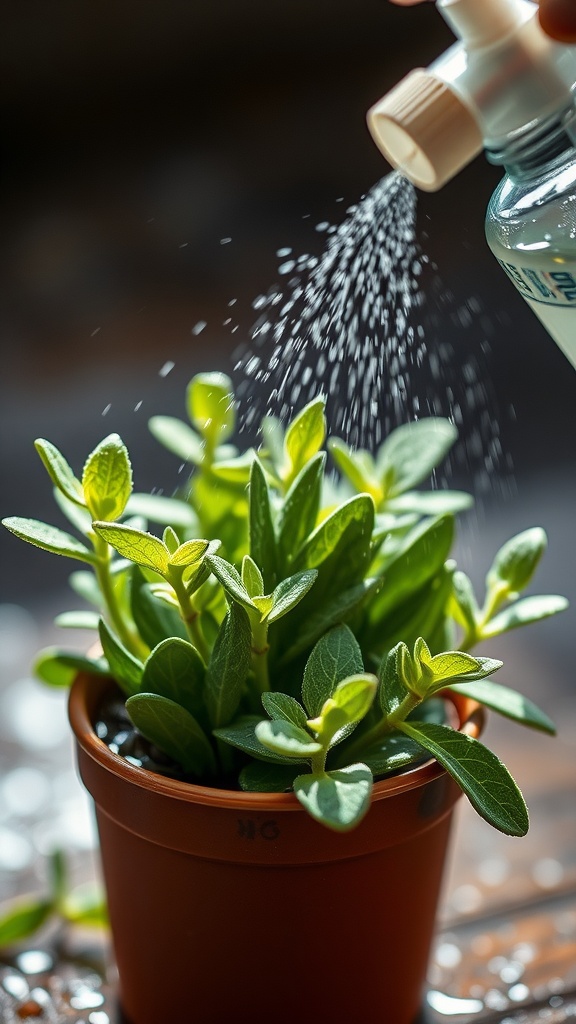
Misting sage cuttings is a simple yet effective way to keep the humidity levels up. In the image, you can see a sprayer in action, delivering a fine mist to a healthy sage plant. This method helps create a moist environment that encourages root growth. Remember, sage loves humidity, but too much water can be harmful.
When propagating plants from cuttings, misting a few times a day can maintain the right moisture balance. It’s essential to avoid overwatering, as this can lead to root rot. A gentle mist is your best friend here. Spritz the leaves, not the soil, to ensure the plant gets the humidity it craves without drowning in excess water.
For those engaged in allotment planning or simply growing sage, keeping humidity in check is a crucial step in ensuring your cuttings thrive. Your goal is to create a supportive environment that mimics the sage’s natural habitat. Regular misting not only helps the plant but also gives you the satisfaction of watching your sage herb flourish.
Check For Root Development In 2-3 Weeks By Gently Tugging On The Cutting
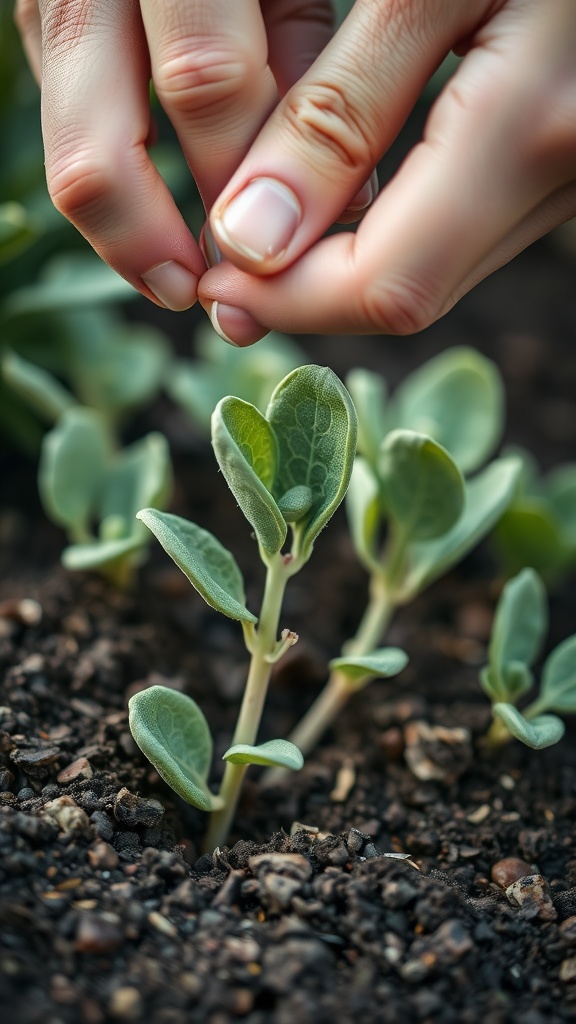
After a couple of weeks, it’s time to check on your sage cuttings. Gently tug on the cutting to feel if there’s any resistance. If you feel a slight pull, it usually means roots are starting to form. This is an exciting step in learning how to grow sage propagate successfully!
In the image, you can see a hand holding a sage cutting, inspecting its roots. The roots are an essential part of propagating plants from cuttings. Healthy roots indicate that your sage herb is taking to the soil well.
Don’t rush this process. Patience is key when propagating plants. If there’s no resistance, give your cuttings more time in the soil. Continue checking every few days. Keep your cuttings in a warm, well-lit area to encourage growth.
Once you see strong roots, you can move your new sage plants to larger pots or directly into your garden. This is a great time for allotment planning if you’re thinking of expanding your herb garden.
Once Roots Are Established, Remove The Plastic Cover To Acclimate The Cutting To Normal Air
After nurturing your sage cuttings, it’s time to take an important step. Once you see roots developing, you can remove the plastic cover. This is crucial for acclimating your young sage plants to the air around them. Leaving that cover on too long can hinder their growth.
In the image, you can see a healthy sage cutting emerging from the soil, surrounded by a plastic covering. This setup helps retain moisture while the roots establish. Removing the cover gradually allows the plant to adapt to its new environment.
With proper care, you can easily grow sage and enjoy the flavors it brings to your dishes. Whether you’re planning to use it in sage recipes or just want it as a lovely addition to your garden, following these steps will ensure success in propagating plants from cuttings.
Remember, growing sage isn’t just about the end result; it’s also about the process. Watching your cuttings thrive is rewarding. As you remove the plastic, keep an eye on your young plants. If they start to droop, don’t hesitate to mist them lightly to keep humidity levels up. This adjustment phase is key to building strong, healthy sage herb plants.
Transplant The Cutting To A Larger Pot Once The Roots Are Strong And Well-Developed
Once your sage cutting has developed a strong root system, it’s time to give it some room to grow. Transplanting to a larger pot is a crucial step in propagating plants from cuttings. You want those roots to have space to spread out and absorb nutrients efficiently.
In the image, you can see someone carefully handling a sage herb cutting. The roots are well-established and ready for their new home. Make sure to choose a pot that’s a few inches wider than the current one. This will provide ample space for the roots to expand.
While transplanting, gently loosen the roots if they are tightly bound. This encourages them to grow into the new soil. Fill the new pot with fresh potting mix, ideally one that retains moisture yet drains well. Sage loves a well-drained environment!
After planting, give your sage cutting a good drink of water. This helps to settle the soil and reduces shock from the transplanting process. Place the pot in a sunny location where it can thrive. Enjoy watching your sage grow; soon, you’ll have plenty to use in your favorite sage recipes!
Fertilize Lightly During The Growing Season To Encourage Healthy Growth
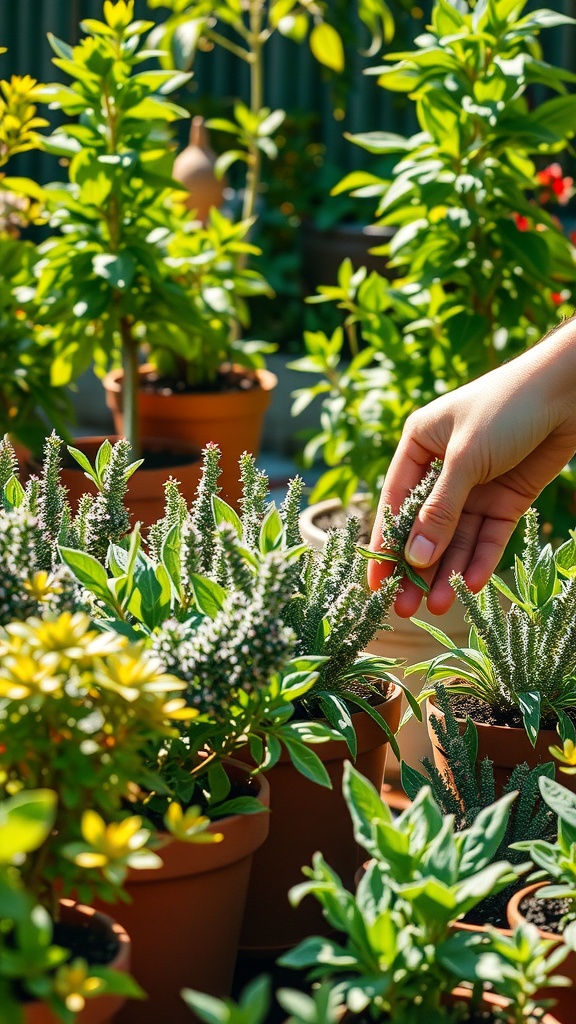
Taking care of your sage plants is essential if you want to enjoy fresh herbs in your kitchen. In the image, you can see a hand gently touching the flowering stems of sage plants, surrounded by vibrant greenery. These plants thrive with a little extra care, especially during the growing season.
To promote healthy growth, you should fertilize your sage lightly. A balanced, water-soluble fertilizer works well. Just mix it according to the instructions and apply it every 4 to 6 weeks. This helps the plants grow strong and lush.
Healthy sage plants mean more leaves to use in your favorite sage recipes. They can elevate dishes, making any meal special. Remember, when propagating plants from cuttings, the right care can make a big difference in their growth!
As you plan your allotment, keep in mind the importance of proper fertilization. Your sage herb will flourish, providing you with an abundance of fresh cuttings to use in your cooking or for sharing with friends.
Gradually Introduce The Plant To More Sunlight Once It’S Established
After nurturing your sage cuttings, it’s time to let them shine! Gradually introducing your sage plant to more sunlight is key for healthy growth. Start by placing your plant in a spot that receives indirect sunlight. This allows the leaves to adapt without getting scorched.
As your sage herb becomes more established and shows signs of new growth, you can slowly increase its sun exposure. Move it to a location that receives direct morning sunlight. Sage thrives in bright light, but sudden changes can be stressful for the plant.
Keep an eye on your sage while it adjusts. If you notice the leaves wilting or turning brown, it might be getting too much sun. Remove it from direct sunlight for a few days and then try again. The goal is to find that sweet spot where your sage can bask in the sun while still staying healthy.
Remember, growing sage can be a rewarding experience. Once your sage is happily soaking up the sun, you can start thinking about all the delicious sage recipes you can create! Happy gardening!
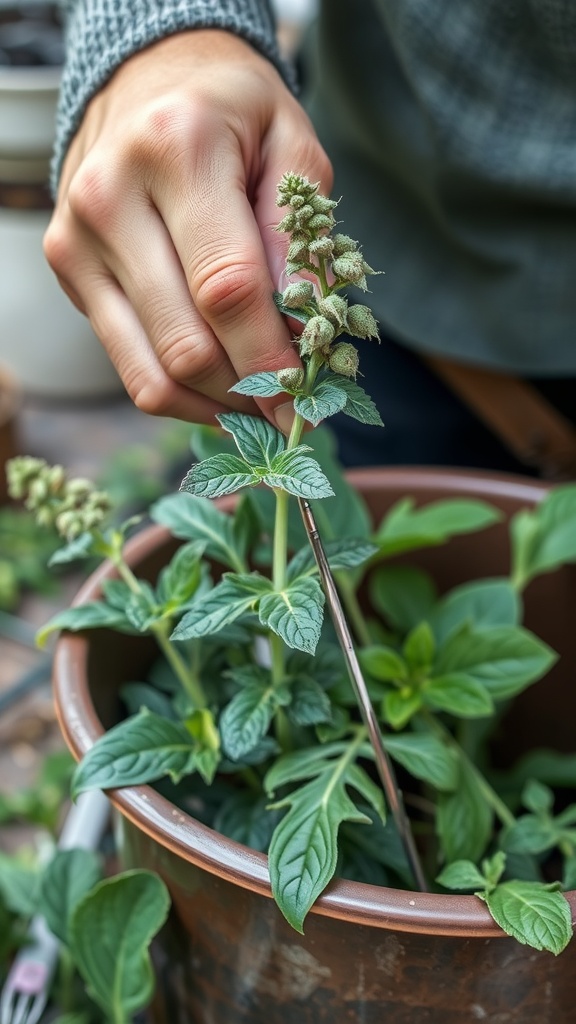
Trim Back Any Leggy Growth To Promote A Bushier Plant
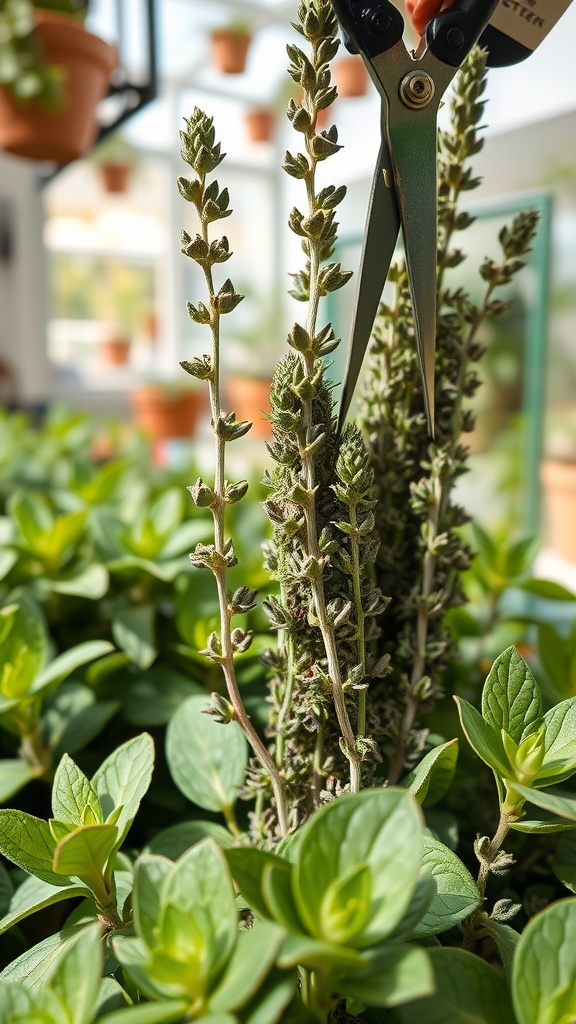
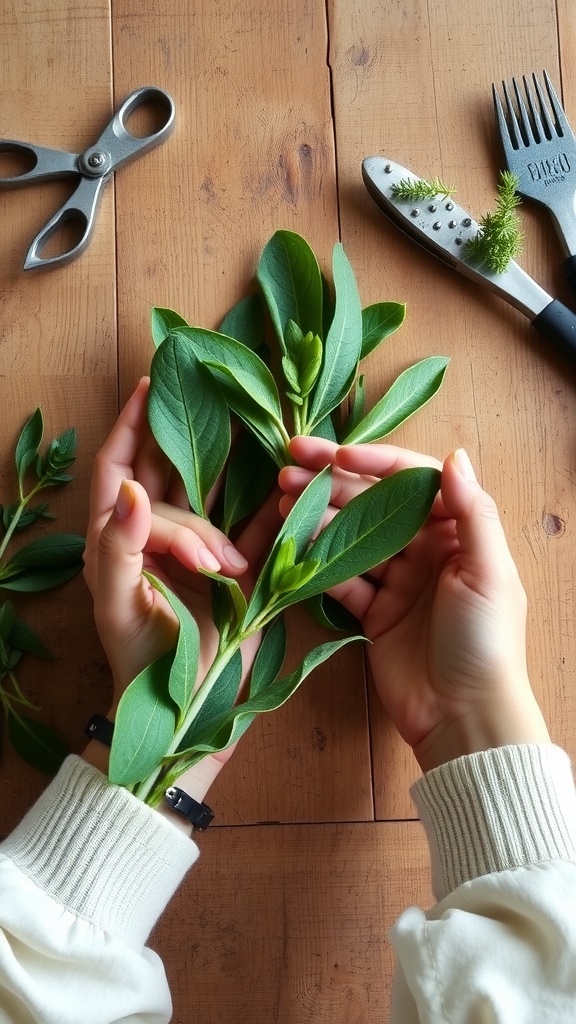
Trimming back leggy growth is an essential step when propagating sage cuttings. In the image, you can see scissors poised to snip the tall, spindly stems of sage. These shoots can take energy from the plant, making it less vibrant. By cutting them back, you encourage new, bushier growth.
When growing sage, you’ll want a healthy, full plant. This not only looks better, but it also produces more leaves for your favorite sage recipes. The trimmed cuttings can be used to propagate new plants, making this step beneficial for expanding your sage herb collection.
Think about your allotment planning. Having plenty of sage on hand can enhance your cooking and even be a lovely addition to garden aesthetics. Keep your plants tidy and thriving by regularly trimming back any leggy growth.
Leave a Reply