Making a hanging Japanese moss ball planter, or kokedama, is a fun way to bring a touch of green into your home or garden. This simple project combines creativity and nature, resulting in a beautiful display that’s easy to care for. Follow these 15 steps to create your own unique and stunning kokedama!
Gather The Necessary Materials For Making Kokedama
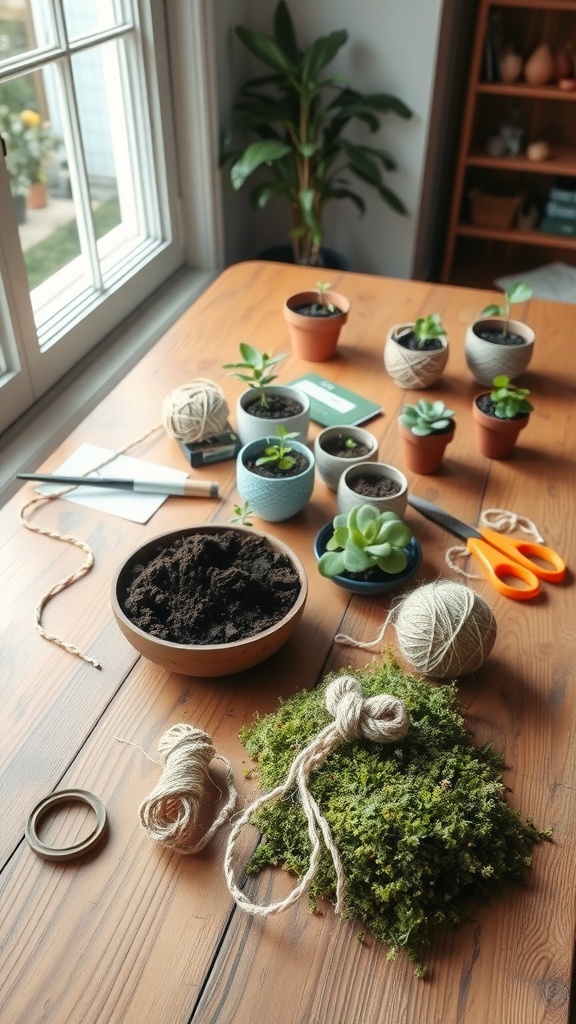
Creating beautiful Kokedama Japanese moss balls is a fun and rewarding project. To get started, you’ll need a few essential materials. The image shows a cozy workspace filled with various plant projects that will inspire you.
First, you’ll need Bonsai soil or a similar soil mix that retains moisture. This is key for your moss ball’s health. You can see a bowl of dark soil ready to be mixed. Next, gather some fresh moss, which is also shown in the image. This will wrap around the soil to create that signature ball shape.
Don’t forget some twine or string! You can use jute or any sturdy natural string. The bundles in the picture are perfect for tying everything together. Scissors will also be handy for cutting your twine to size.
Lastly, consider having a few small plants ready to incorporate into your moss ball. Succulents or small Japanese plants work great for this. The little pots in the image suggest a variety of options to choose from. With these materials, you’re set to dive into the world of plant crafts and create stunning moss gardens!
Choose The Right Plants For Your Moss Ball Planter
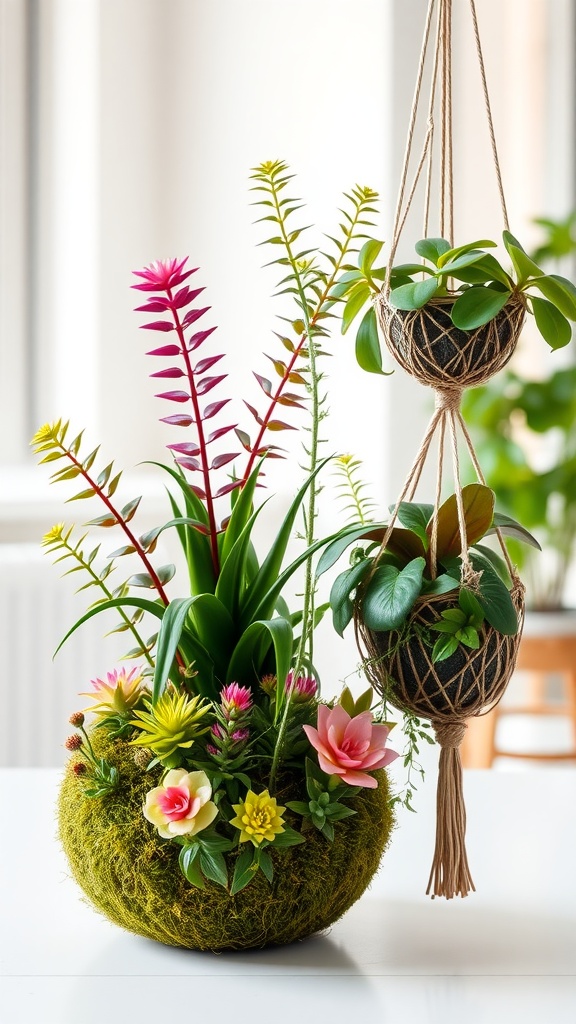
Creating a beautiful Kokedama ball is all about choosing the right plants. The image shows a stunning moss ball planter, showcasing lush greenery that makes it an eye-catching piece.
For your moss ball DIY project, consider using Japanese plants or those that thrive in similar conditions. Ferns, for instance, love humidity and can flourish in this setting. They add a soft, flowing appearance to your moss garden.
Succulents and cacti can also be great options, especially if you prefer a more minimalist look. Cactus decor can bring a modern touch to this traditional craft. When selecting plants, think about their light and water requirements to ensure they will thrive inside a moss ball.
Another fun idea is to mix and match different plants. Some string garden moss balls use various small plants for a vibrant display. You could even incorporate a tiny bonsai for an interesting twist. Remember, the key to a successful Kokedama Japanese moss ball is making sure the plants complement each other!
Prepare The Soil Mixture For Your Moss Ball
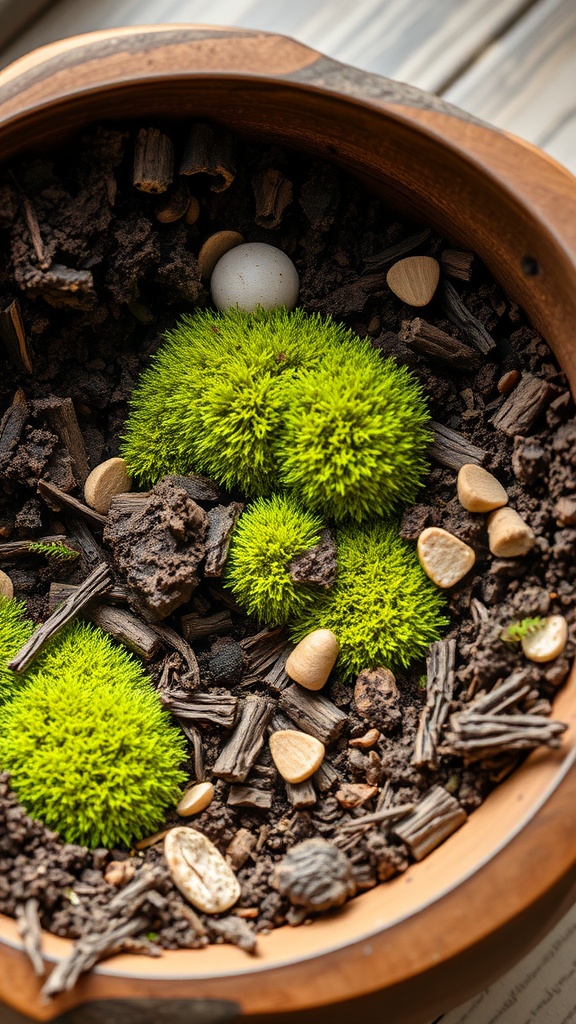
Creating a Kokedama Japanese Moss Ball starts with the right soil mixture. The image highlights a lovely arrangement of moss nestled in rich, dark soil, showing just how vibrant and healthy your moss balls can look.
To prepare the perfect soil, you’ll need a blend that retains moisture while allowing for good drainage. A mix of bonsai soil and regular potting soil works wonders. The bonsai soil provides aeration, which is essential for the roots of your Japanese plants.
Start by mixing equal parts of these soils in a bowl. You can add a handful of organic matter to boost nutrients. Some people like to include a bit of sand or perlite for extra drainage, making it easier for your moss to thrive.
As you prepare your moss ball, remember that the right soil supports not just the moss but also any small plants you might want to include in your Plant Crafts. The mixture you create will be the foundation for your new Moss Garden.
Form The Soil And Root Ball For The Kokedama
Creating a Kokedama Japanese Moss Ball starts with forming the soil and root ball. In the image, you can see hands holding a carefully shaped soil ball, which is the heart of this beautiful plant project. The mix used here typically includes bonsai soil and moss. This combination supports the health of Japanese plants and ensures they thrive.
To get started, gather your materials. You will need a fine bonsai soil mix, some moss, and water. The soil should be moist, not soggy, making it easier to mold. A good tip is to mix the soil with some water until it holds together well. This allows you to shape a solid ball without it falling apart.
Once your soil is ready, take a handful and start forming a ball. Keep it compact, but not too tight. You want to create a mold that keeps its shape while allowing the roots to breathe. The image clearly shows the hands gently shaping the Kokedama. Don’t rush this process; take your time to get the perfect roundness.
After forming the ball, you can insert the roots of the plant you chose. Make sure they are well positioned within the soil. Then, cover the exposed roots with more soil and moss. This is an essential step as it helps in moisture retention, making your moss ball a thriving piece of Cactus Decor or a beautiful addition to your moss garden.
Wrap The Root Ball With Moss To Create The Ball Shape
Now comes the exciting part of crafting your Kokedama ball! You’ll want to wrap the root ball with moss to give it that signature Japanese Moss Ball look. Start by taking your freshly prepared root ball and gently positioning it in your hands.
Carefully lay strips of moss around the root ball. Make sure the moss is damp but not soaking wet. This helps it stick better and keeps the roots happy. You can use various types of moss, but choose the one that feels right for your style.
Once the moss is wrapped around, secure it with string. This will keep everything in place and help form a tight, round shape. Use natural twine or string that complements the look of your Kokedama. The aim is to create a beautiful moss garden that not only looks great but also supports your plants.
As you wrap, remember to check for any gaps where the soil might peek through. Filling these spots with extra moss creates a smoother and more polished appearance. It’s all about those little details!
After wrapping and securing, give your new moss ball a gentle squeeze to make sure everything is snug. This step is essential for a solid Kokedama Ball DIY. It ensures that the roots have enough contact with the moss, promoting healthy growth for your Japanese plants.
Secure The Moss With Twine Or String To Hold It Together

Securing your moss is an important step in creating a Kokedama Japanese moss ball. The image shows a beautifully wrapped moss ball, demonstrating how twine can be used to hold everything in place.
Start by choosing a sturdy twine or string that complements the natural look of your moss garden. Gently wrap the twine around the moss, ensuring it’s tight enough to hold the ball together but not so tight that it damages the plant. This method works well for various plant projects, including creating a unique cactus decor.
When you finish wrapping, tie a knot at the top to create a hanging loop. This will be perfect for suspending your moss ball, turning it into a stunning piece of decor. The Kokedama ball DIY process is simple and rewarding, adding a touch of Japanese plants to your space.
Don’t forget to adjust the string to suit your desired height and style. String garden moss balls are versatile and can be displayed in various ways. They make fantastic additions to any plant crafts you may have in mind!
Moisten The Moss Ball To Keep The Roots Healthy
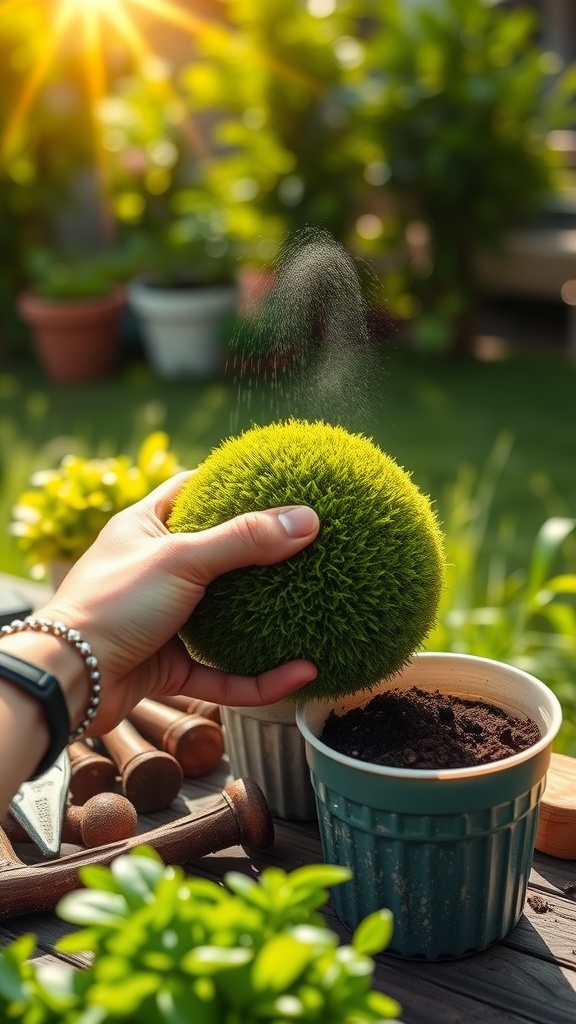
Moistening your Japanese moss ball is a key step in caring for your kokedama. This image shows a hand gently spraying a vibrant green moss ball, emphasizing the importance of keeping it hydrated. Healthy roots mean a happy plant, and regular misting helps achieve that.
The lush green of the moss hints at the vitality of plants that thrive in this Japanese gardening style. Pairing this technique with bonsai soil will create an ideal environment for your moss garden. Whether you’re making a kokedama ball DIY or a simple plant project, hydration is vital.
As you mist your moss ball, you’ll notice the beauty of the texture. This not only adds appeal to your cactus decor but also helps sustain the moisture levels that these unique plants require. So grab your spray bottle and keep that moss ball nourished!
Attach A Hanging String Or Wire For Easy Display
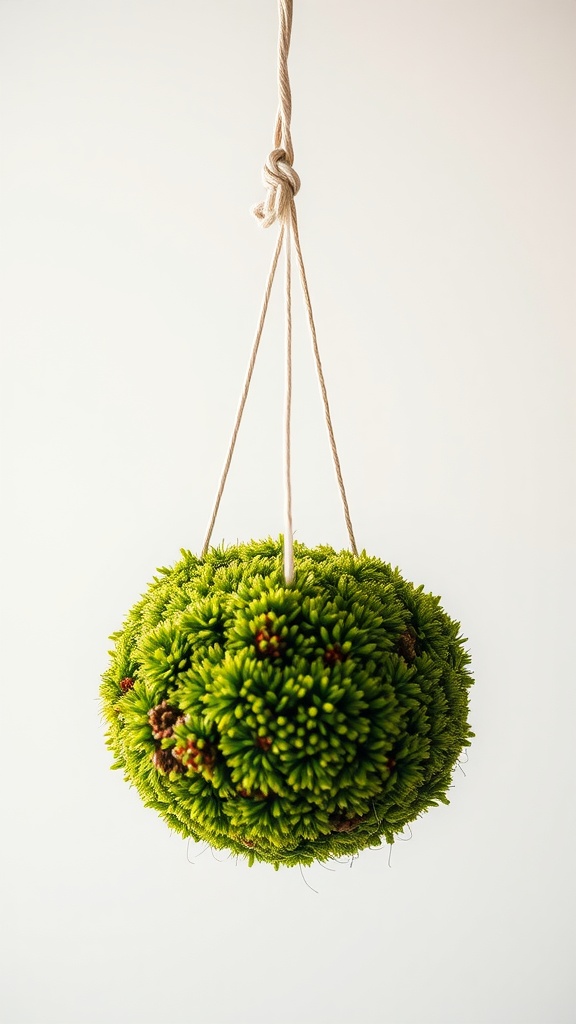
Creating a stunning display for your Kokedama Japanese Moss Balls is simple and fun. The image shows a beautifully crafted moss ball hanging from a sturdy string, ready to brighten up any space. This adds a unique touch to your home decor, while also showcasing your plant projects.
When attaching a hanging string or wire, choose materials that complement the look of your moss ball. Natural fibers, like jute or cotton, work well and add an earthy vibe. Make sure to tie a secure knot at the top of the moss ball. This ensures it safely hangs without any worries while you enjoy your moss garden.
If you’re into plant crafts, consider varying the length of the string for a more dynamic arrangement. Mixing heights for a display can create a charming visual effect, especially when using different types of Japanese Plants.
Once your moss ball is hanging, place it in a spot that gets indirect sunlight. This will help maintain the vibrant green color of your Moss Ball. With a little care, your hanging moss ball will thrive and look gorgeous in any room.
Place Your Kokedama In A Shaded, Humid Location For Growth
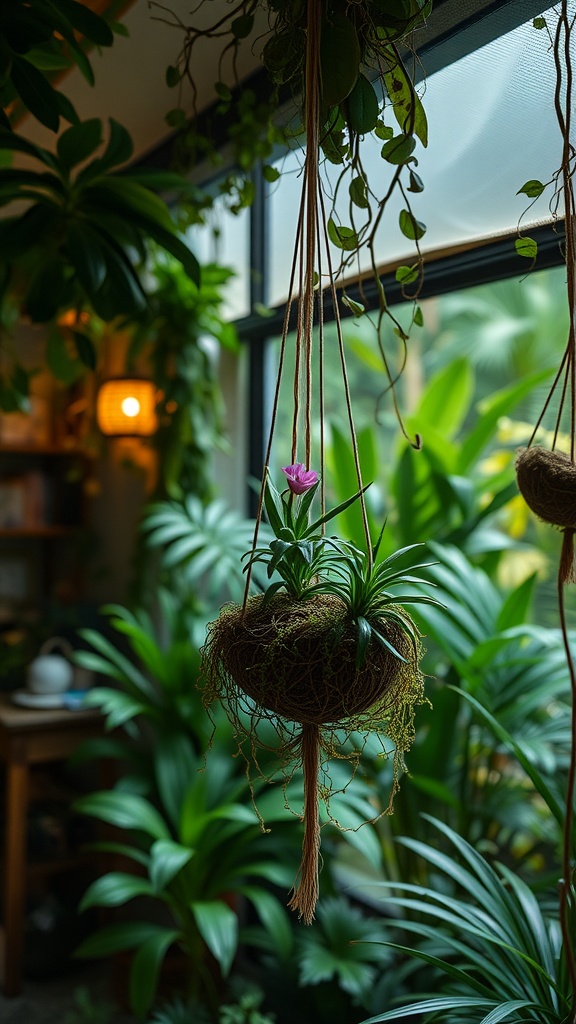
When setting up your Kokedama, it’s key to find the right spot for it to thrive. This image beautifully showcases a Kokedama hanging in a cozy indoor space, surrounded by lush plants. The vibrant greens and the delicate moss ball create a calming atmosphere, perfect for plant lovers.
Japanese Moss Balls, or Kokedama, require a shaded and humid environment to flourish. Place your Kokedama near a window that doesn’t get direct sunlight. Too much sun can dry out the moss, which is essential for moisture retention.
Humidity is important for these Plant Crafts. Consider placing your Kokedama in areas like bathrooms or kitchens where humidity levels are usually higher. You can also mist the moss ball regularly to help maintain its moisture.
Making a Moss Garden with Kokedama Japanese Moss Balls can transform your living space. The hanging moss ball adds a touch of nature and is a fantastic way to showcase your love for bonsai soil moss plants. This type of decor is not just beautiful; it also helps purify the air!
As you nurture your Kokedama, watch it grow and flourish in its shaded, humid spot. It’s a rewarding project that connects you to nature while enhancing your home. So, hang your Kokedama with pride and enjoy the greenery!
Water The Moss Ball Regularly To Maintain Moisture
Keeping your moss ball happy is all about moisture. This vibrant green Kokedama ball, like the one hanging in the image, thrives when watered regularly. These Japanese Moss Balls need a good soak to stay fresh and lively.
Watering can be a fun part of your plant projects. Simply submerge the moss ball in a bowl of water for about 10 to 15 minutes. You’ll see bubbles rising to the surface. This means the moss is soaking up all the moisture it craves. Once it’s plump and happy, hang it back in its spot.
With a little care, you can create an amazing moss garden right in your home. Remember to check the moisture level often. If the ball feels dry to the touch, it’s time for another soak!
Using the right soil is key too. A Bonsai Soil Moss Plant mix is ideal for Kokedama to retain moisture without becoming soggy. This balance helps your Japanese Moss Balls flourish.
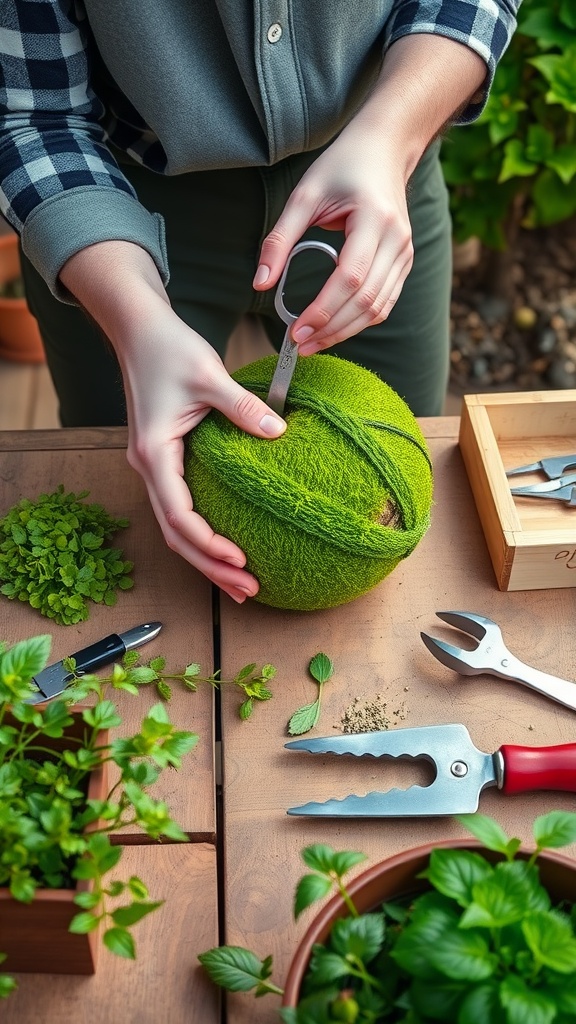
Prune The Plants As Needed To Encourage Healthy Growth
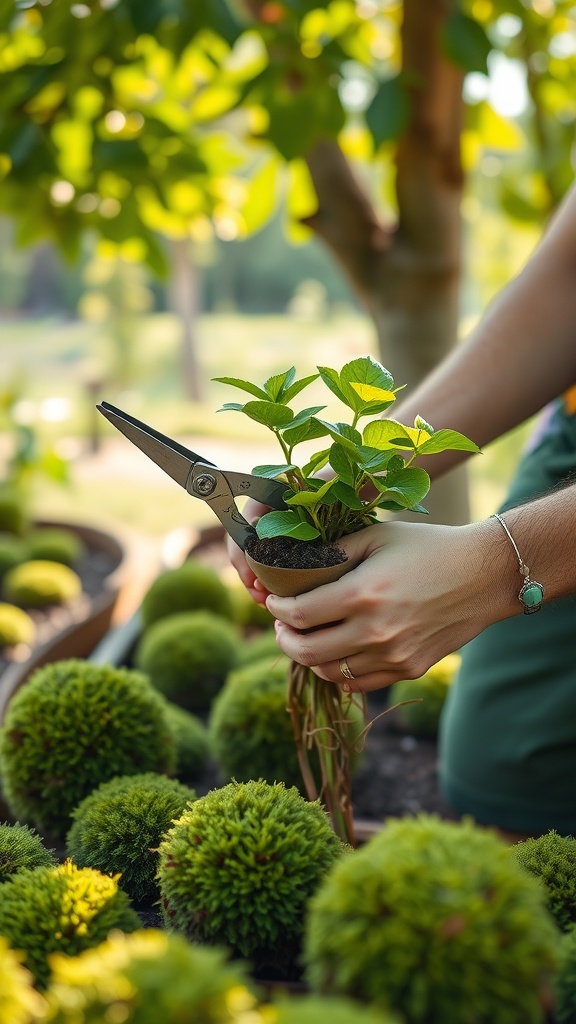
Pruning is a key step in maintaining any plant, especially when creating Kokedama Japanese Moss Balls. The image captures a moment where someone is carefully handling a small plant, preparing to prune it. This action helps ensure that each plant remains healthy and can thrive in its new moss home.
When making your Kokedama Ball DIY, it’s important to trim away any dead or overgrown leaves. This not only encourages further growth but also keeps the moss ball looking tidy and vibrant. Regular pruning allows your plant to focus its energy on new growth rather than supporting unnecessary foliage.
So, as you gather your materials for this plant project, grab some sharp scissors and inspect your plants. Whether you’re working with Japanese plants or creating a Moss Garden, a little trim can make a big difference. Healthy plants lead to stunning Kokedama creations that will brighten up any space.
Monitor The Moss Ball For Signs Of Dryness Or Stress
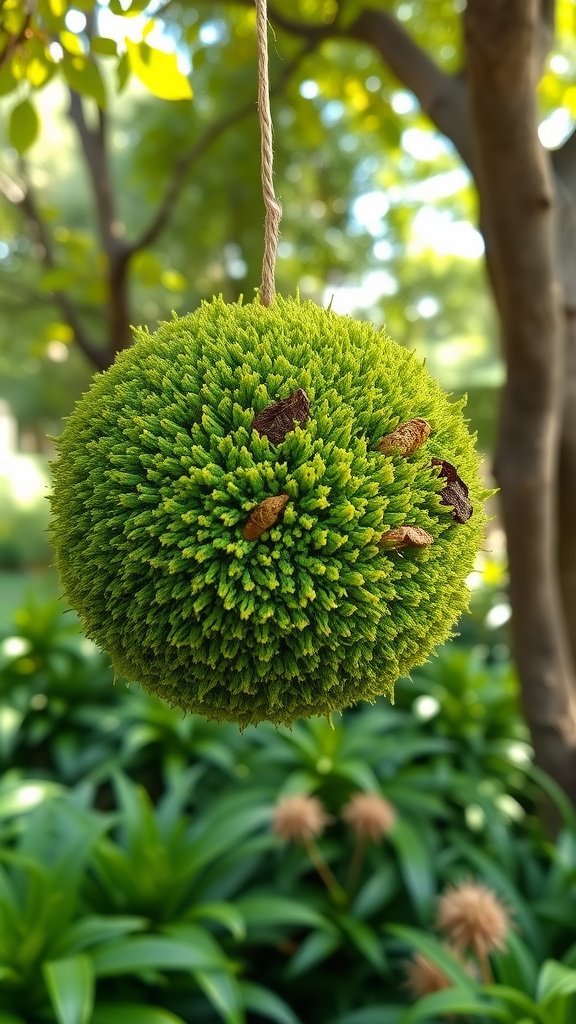
The image shows a vibrant Japanese moss ball, also known as a Kokedama. Its lush green surface is dotted with a few brown leaves, indicating signs of wear. Hanging gracefully, this moss ball creates a charming display in a garden setting. Monitoring its health is key to maintaining its beauty.
Japanese moss balls thrive best with the right moisture. Keep an eye out for signs of dryness. If the moss starts to look dull or crispy, it may need a drink. On the flip side, if the moss ball feels overly soggy, it might be time to cut back on water.
As part of your plant projects, consider placing the Kokedama in a location with indirect sunlight. Too much direct sunlight can stress the moss and lead to quicker drying. Regular checks will help ensure your moss ball stays lush and green.
For anyone into plant crafts, making and caring for a Kokedama ball DIY can be a fun and rewarding experience. Embrace the rhythm of caring for your moss garden and enjoy the calming presence of these unique Japanese plants.
Add Decorative Elements To Enhance The Aesthetic Of Your Kokedama
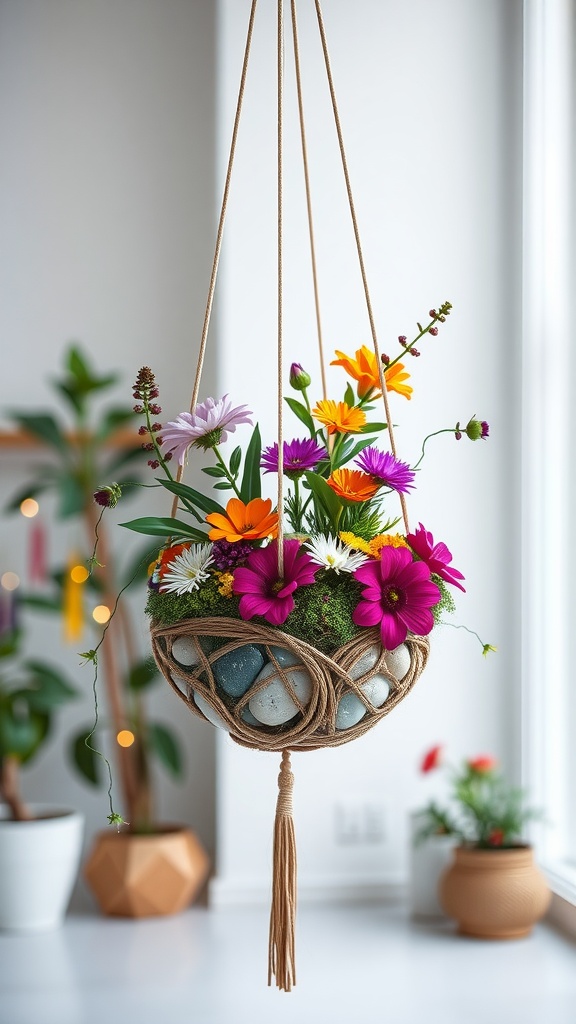
Decorating your Kokedama can really make it pop. The image shows a lovely hanging moss ball planter filled with colorful flowers and beautiful stones. This vibrant display not only catches the eye but also creates a lively atmosphere in any space.
You can start by choosing flowers that complement your Japanese Moss Balls. Bright blooms like daisies, cosmos, and petunias can add a cheerful touch. Mix and match colors to create an appealing look. Don’t forget to add some greenery too; trailing vines can bring a nice texture to your design.
Using decorative stones, like those seen in the image, can enhance the overall aesthetic. They provide contrast and can help stabilize the Kokedama. You can also paint or select stones based on your home decor. Crafting a cohesive look will make your moss ball a centerpiece.
For those who love plant crafts, a string garden with various plants can be a fun and creative project. Try incorporating bonsai soil for a unique touch. The combination of textures from the moss and the flowers creates a miniature moss garden right in your home.
Lastly, think about the hanging method. A simple macrame hanger, like in the photo, adds a rustic charm. This not only showcases your Kokedama Japanese Moss Balls but also makes it easy to display in different areas of your home.
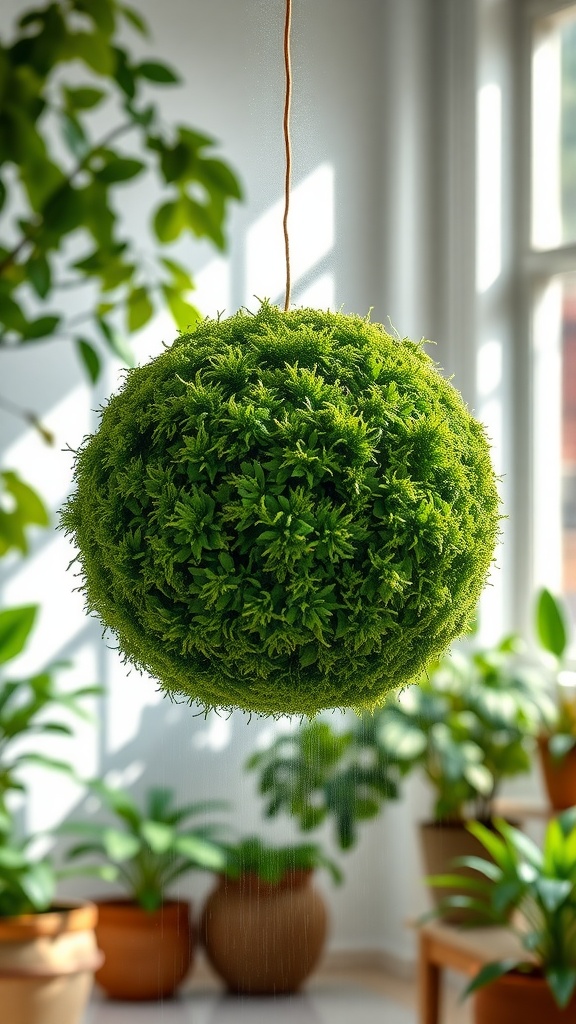
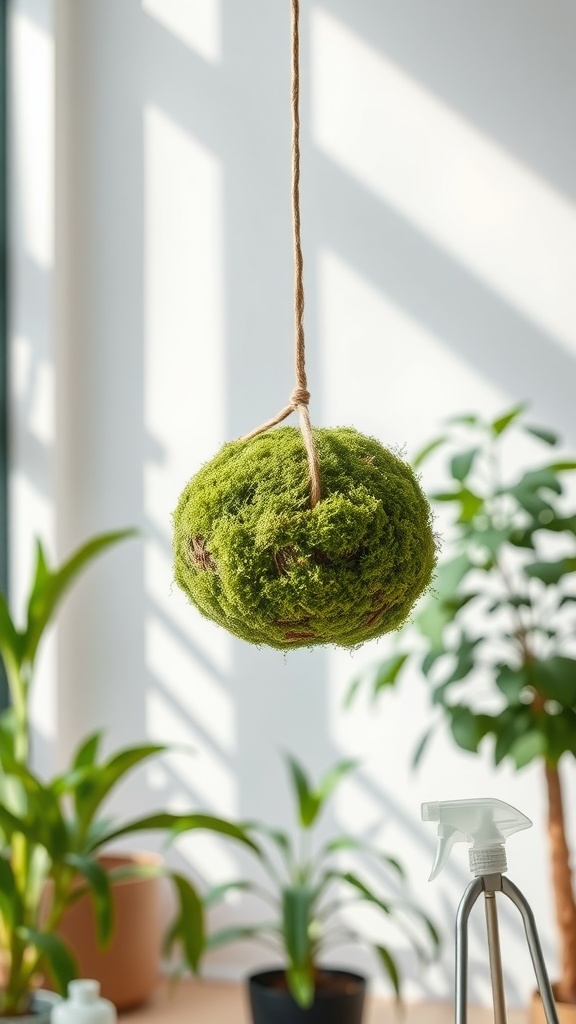
Display Your Hanging Moss Ball Indoors Or Outdoors In A Suitable Area
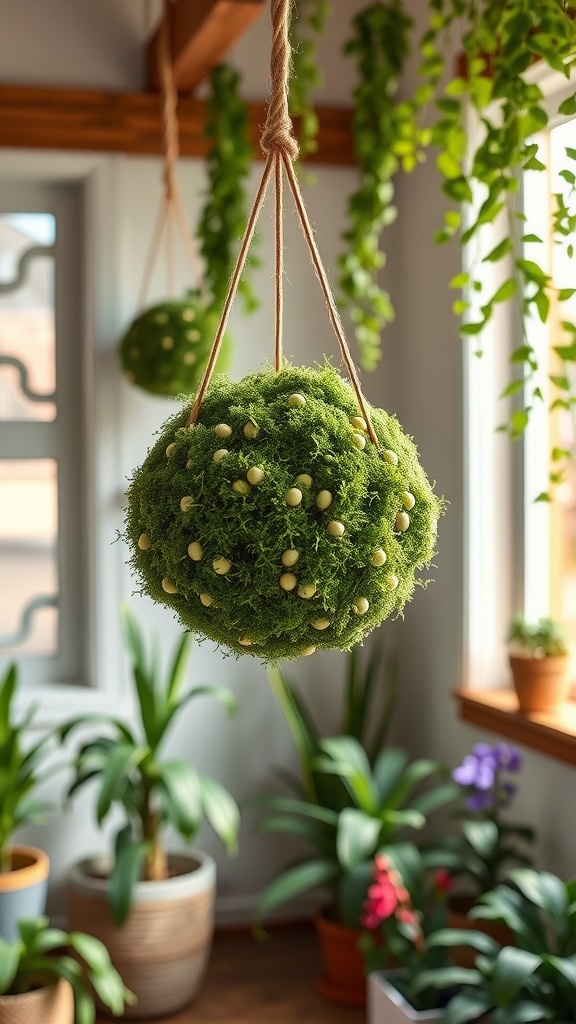
Displaying your Kokedama moss ball is a fun and creative way to enhance your space. These beautiful moss balls can brighten up any room or outdoor area. Hanging them makes a unique statement and brings a bit of nature indoors.
In the image, you see a vibrant green moss ball, suspended gracefully. Its rich texture and color stand out against the soft backdrop of indoor plants. This setup is perfect for a cozy living room or a bright kitchen. A well-placed Kokedama can breathe life into any dull corner.
When choosing a spot, consider light and air circulation. Japanese moss balls thrive in indirect light, making windowsills an ideal location. If you’re opting for an outdoor display, ensure they are protected from harsh sunlight and heavy rains. You can even create a mini moss garden by grouping several moss balls at different heights.
Whether you call it a moss garden or a string garden moss ball, these plant projects are sure to impress. As part of your plant crafts, they add a touch of elegance to your decor. Hang them near your other Japanese plants or as part of a cactus decor arrangement for a diverse look.
Refresh And Maintain Your Kokedama For Long-Lasting Beauty
Your kokedama, or moss ball, is more than just a lovely piece of decor; it’s a living art project. To keep it thriving, regular care is key. This vibrant green moss ball hanging above reminds us of the beauty and simplicity of Japanese plants in their natural form.
Start by checking the moisture level. If the moss feels dry, it’s time for a soak. Immerse the kokedama in water for about 10-15 minutes until the soil is thoroughly damp. This keeps your Japanese moss balls lush and vibrant.
Next, consider its position. Make sure your kokedama is getting just the right amount of light. Bright, indirect sunlight works best. Too much direct sunlight can cause the moss to dry out or burn.
Don’t forget to mist the moss regularly. A spray bottle comes in handy to maintain humidity levels, especially in drier environments. Misting not only nourishes your kokedama but also adds a refreshing touch to your space.
Lastly, feed your moss ball every month with a diluted liquid fertilizer. This keeps nutrients flowing and ensures your plant projects stay healthy. With these simple steps, your kokedama will continue to bring joy and beauty to your moss garden.
Leave a Reply